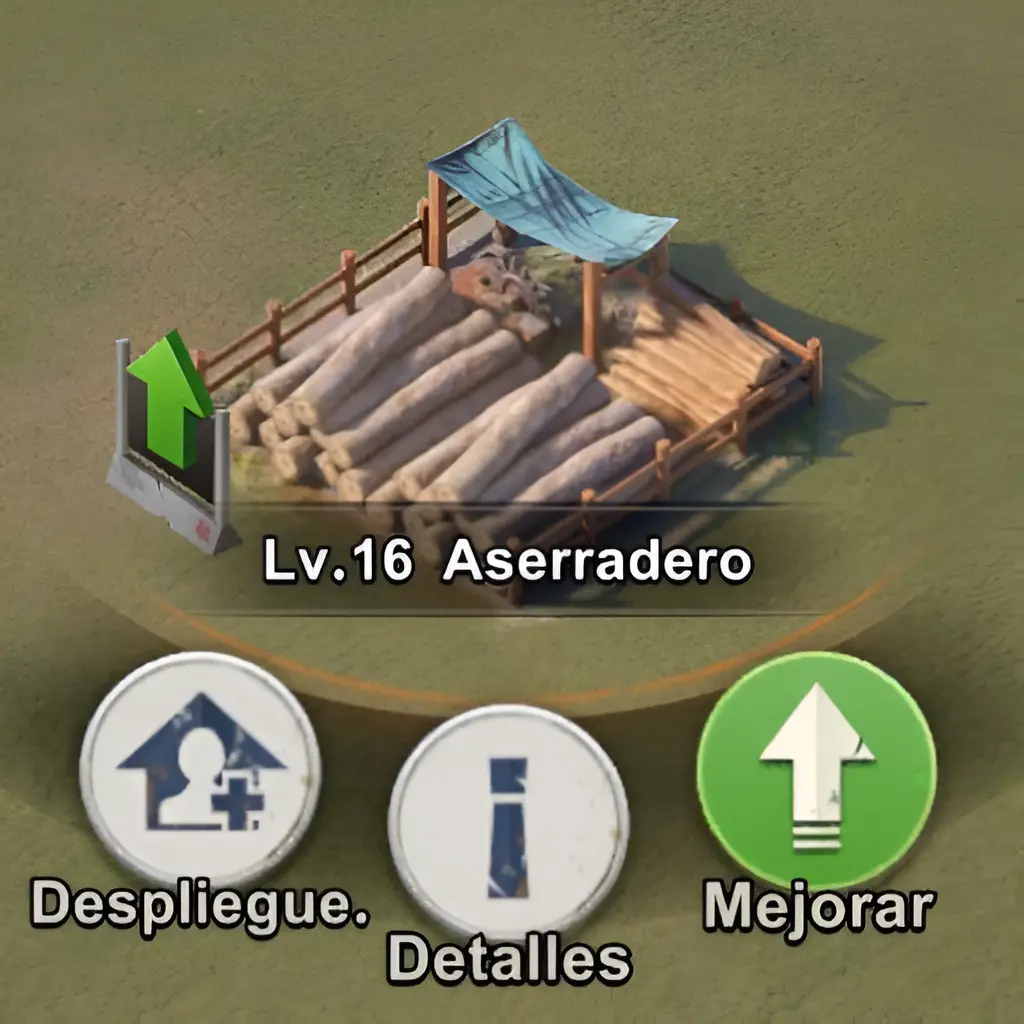
Lumber Mill
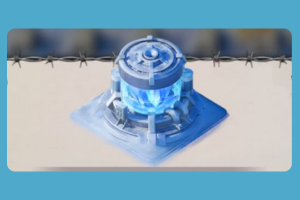
The Sawmill produces wood automatically over time. It's one of the most used resources for building and upgrading — level it up regularly so production doesn't bottleneck your progress.
Explore each building's functions, its role in your base, and how to prioritize them. Use the filters to browse by category.
Last Z has over 25 buildings divided into categories: Resources, Attack & Defense, Troops, Missions, and Others. Not all of them are equally important — some are critical from day one, while others can be ignored for weeks without affecting your progress.
Resource buildings like the Sawmill, Farm, and Production Center are your economic engine — without materials you can't build anything. Attack & Defense buildings like the Wall and Toxic Fog Garden determine how much you can resist and how hard you hit. Troops buildings like the Military and recruitment fields define the size and variety of your army.
My general recommendation: Laboratory and Wall always first — they're requirements for almost everything else. Then the faction building that matches your main heroes, and keep your recruitment fields leveled evenly. Use the ⭐ Important filter to see priority buildings with my personal tips.
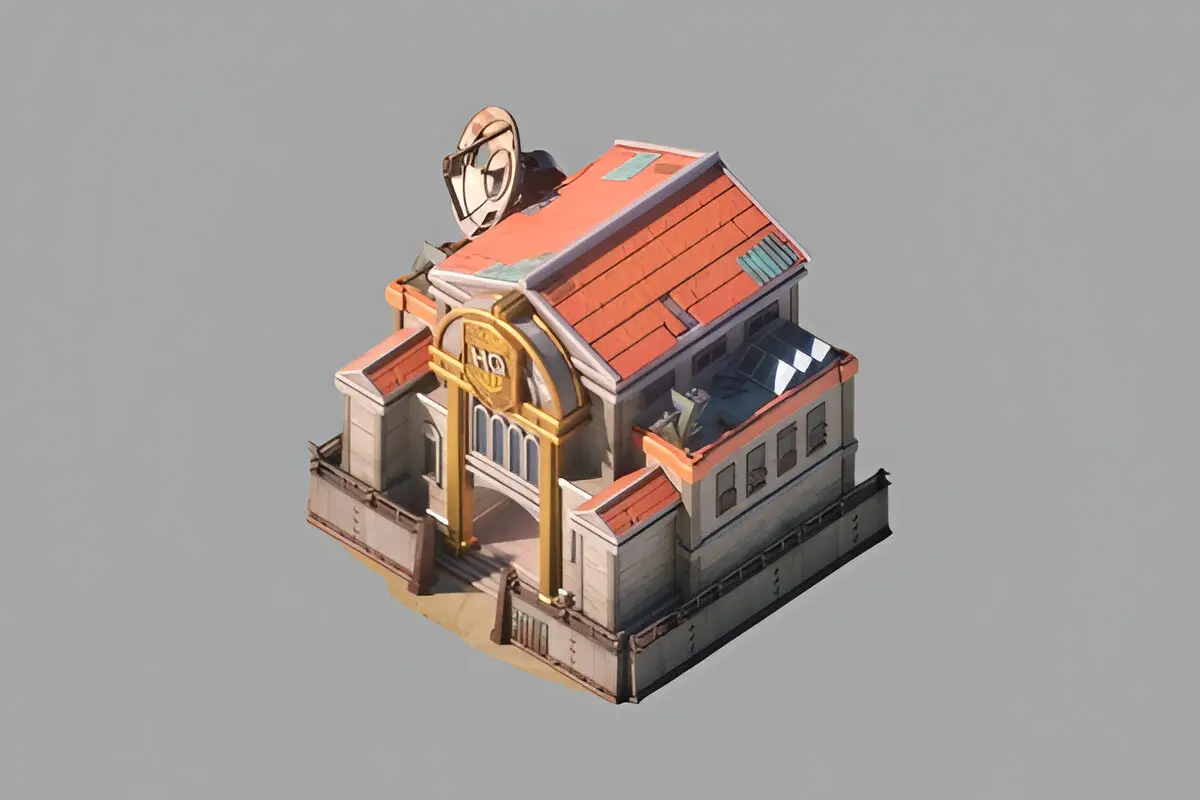
The heart of your base · Levels 1–35 · 9 Skins with buffs
Each skin grants unique buffs for your base
Base Skin
No additional buffs
Premium Skin
⚔️ Troop ATK +3.0%
📖 Hero EXP Buff +10.0%
💰 Z Coins Bonus +10.0%
Event Skin
⚔️ Troop ATK +2.0%
🪵 Wood Prod. +10.0%

Event Skin
🛡️ Troop DEF +2.0%
🥫 Food Prod. +10.0%
Event Skin
⚔️ Troop ATK +2.0%
⚡ Wind Turbine Prod. +10.0%

Event Skin
⚔️ Troop ATK +1.0%
⚔️ Troop ATK +1.0%

Event Skin
🛡️ Troop DEF +3.0%
💰 Z Coins Bonus +10.0%
Premium Skin
⚔️ Troop ATK +2.0%
🛡️ Troop DEF +2.0%

Event Skin
⚔️ Troop ATK +2.0%
🛡️ Troop DEF +2.0%
🏗️ Buildings: None required
🏗️ Buildings: None required
🏗️ Buildings: Wall level 3
🏗️ Buildings: Radar level 1, Raiders Camp level 4
🏗️ Buildings: Military Center level 5
🏗️ Buildings: Alliance Center, Training Camp
🏗️ Buildings: Laboratory level 7, Raiders Camp level 7
🏗️ Buildings: Laboratory level 8, Hospital level 8
🏗️ Buildings: Laboratory level 9, Shooting Range level 9
🏗️ Buildings: Laboratory level 10, Bikers Camp level 10
🏗️ Buildings: Laboratory level 11, Wall level 11
🏗️ Buildings: Laboratory level 12, Alliance Center level 12
🏗️ Buildings: Laboratory level 13, Raiders Camp level 13
🏗️ Buildings: Laboratory level 14, Shooting Range level 14
🏗️ Buildings: Laboratory level 15, Camp level 15
🏗️ Buildings: Laboratory level 16, Wall level 16
🏗️ Buildings: Laboratory level 17, Alliance Center level 17
🏗️ Buildings: Laboratory level 18, Alliance Center level 18
🏗️ Buildings: Laboratory level 19, Shooting Range level 19
🏗️ Buildings: Laboratory 19, Shooting Range 19
🏗️ Buildings: Laboratory 20, Bikers Barracks 20
🏗️ Buildings: Laboratory 21, Wall 21
🏗️ Buildings: Laboratory 22, Alliance Center 22
🏗️ Buildings: Laboratory 23, Assault Barracks 23
🏗️ Buildings: Laboratory 24, Shooting Range 24
🏗️ Buildings: Laboratory 25, Bikers Barracks 25
🏗️ Buildings: Laboratory 26, Wall 26
🏗️ Buildings: Laboratory 27, Alliance Center 27
🏗️ Buildings: Laboratory 28, Raiders Camp 28
🏗️ Buildings: Laboratory 29, Shooting Range 29
🏗️ Buildings: Laboratory 30, Assault Barracks 30
🏗️ Buildings: Wall 31
🏗️ Buildings: Alliance Center 32
🏗️ Buildings: Assault Barracks 33
🏗️ Buildings: Sniper Barracks 34
| Level | Previous Requirement | Wood / Food | Currency (Zents) | Steel |
|---|---|---|---|---|
| 1 | None | 🪵 12k / 🥫 --- | — | — |
| 2 | None | 🪵 --- / 🥫 10.3k | — | — |
| 3 | Wall level 3 | 🪵 --- / 🥫 15.5k | — | — |
| 4 | Radar 1, Raiders Camp 4 | 🪵 --- / 🥫 23.3k | — | — |
| 5 | Military Center 5 | 139.9k | 27.4k | — |
| 6 | Alliance Center, Training Camp | 279.9k | 54.8k | — |
| 7 | Laboratory 7, Raiders Camp 7 | 447.9k | 87.8k | — |
| 8 | Laboratory 8, Hospital 8 | 716.6k | 140k | — |
| 9 | Laboratory 9, Shooting Range 9 | 859.9k | 168k | — |
| 10 | Laboratory 10, Bikers Camp 10 | 2.14M | 421k | — |
| 11 | Laboratory 11, Wall 11 | 3.6M | 716k | — |
| 12 | Laboratory 12, Alliance Center 12 | 4.0M | 788k | — |
| 13 | Laboratory 13, Raiders Camp 13 | 5.6M | 1.1M | — |
| 14 | Laboratory 14, Shooting Range 14 | 7.8M | 1.5M | — |
| 15 | Laboratory 15, Camp level 15 | 14.0M | --- | — |
| 16 | Laboratory 16, Wall 16 | 18.23M | 3.57M | — |
| 17 | Laboratory 17, Alliance Center 17 | 31.91M | 6.25M | — |
| 18 | Laboratory 18, Alliance Center 18 | 38.2M | 7.5M | — |
| 19 | Laboratory 19, Shooting Range 19 | 68.92M | 13.50M | — |
| 20 | Lab. and Shooting Range 19 | 68.9M | 13.5M | — |
| 21 | Lab. and Bikers Barracks 20 | 96.4M | 18.9M | — |
| 22 | Lab. and Wall 21 | 125.4M | 24.6M | — |
| 23 | Lab. and Alliance Center 22 | 156.8M | 30.7M | — |
| 24 | Lab. and Assault Barracks 23 | 196M | 38.4M | — |
| 25 | Lab. and Shooting Range 24 | 333.2M | 65.3M | — |
| 26 | Lab. and Bikers Barracks 25 | 443.1M | 86.8M | — |
| 27 | Lab. and Wall 26 | 515.4M | 101.1M | — |
| 28 | Lab. and Alliance Center 27 | 806.5M | 157.7M | — |
| 29 | Lab. and Raiders Camp 28 | 1.1B | 221.3M | — |
| 30 | Lab. and Shooting Range 29 | 1.4B | 277.1M | — |
| 31 | Lab. and Assault Barracks 30 | 1.2B | 241M | 2.2M |
| 32 | Wall level 31 | 1.4B | 290M | 3.1M |
| 33 | Alliance Center 32 | 1.7B | 347M | 4.1M |
| 34 | Assault Barracks 33 | 2.0B | 400M | 5.3M |
| 35 | Sniper Barracks 34 | 2.3B | 460M | 6.4M |
The Sawmill produces wood automatically over time. It's one of the most used resources for building and upgrading — level it up regularly so production doesn't bottleneck your progress.
Produces the wood needed to build and upgrade structures.
| Lvl. | 🪵 Wood | 🥫 Food | 💰 Z Coin |
|---|---|---|---|
| 1 | --- | --- | --- |
| 2 | --- | 1.2k | --- |
| 3 | --- | 1.9k | --- |
| 4 | --- | 2.8k | --- |
| 5 | 5.7k | 5.7k | --- |
| 6 | 17.1k | 17.1k | 1.7k |
| 7 | 34.2k | 34.2k | 3.4k |
| 8 | --- | --- | --- |
| 9 | --- | --- | --- |
| 10 | --- | --- | --- |
| 11 | --- | --- | --- |
| 12 | --- | --- | --- |
| 13 | --- | --- | --- |
| 14 | --- | --- | --- |
| 15 | --- | --- | --- |
| Lvl. | 🪵 Wood | 🥫 Food | 💰 Z Coin |
|---|---|---|---|
| 16 | --- | --- | --- |
| 17 | 2.23M | 2.23M | 223k |
| 18 | 3.90M | 3.90M | 391k |
| 19 | --- | --- | --- |
| 20 | --- | --- | --- |
| 21 | --- | --- | --- |
| 22 | --- | --- | --- |
| 23 | --- | --- | --- |
| 24 | --- | --- | --- |
| 25 | --- | --- | --- |
| 26 | --- | --- | --- |
| 27 | --- | --- | --- |
| 28 | --- | --- | --- |
| 29 | --- | --- | --- |
| 30 | --- | --- | --- |
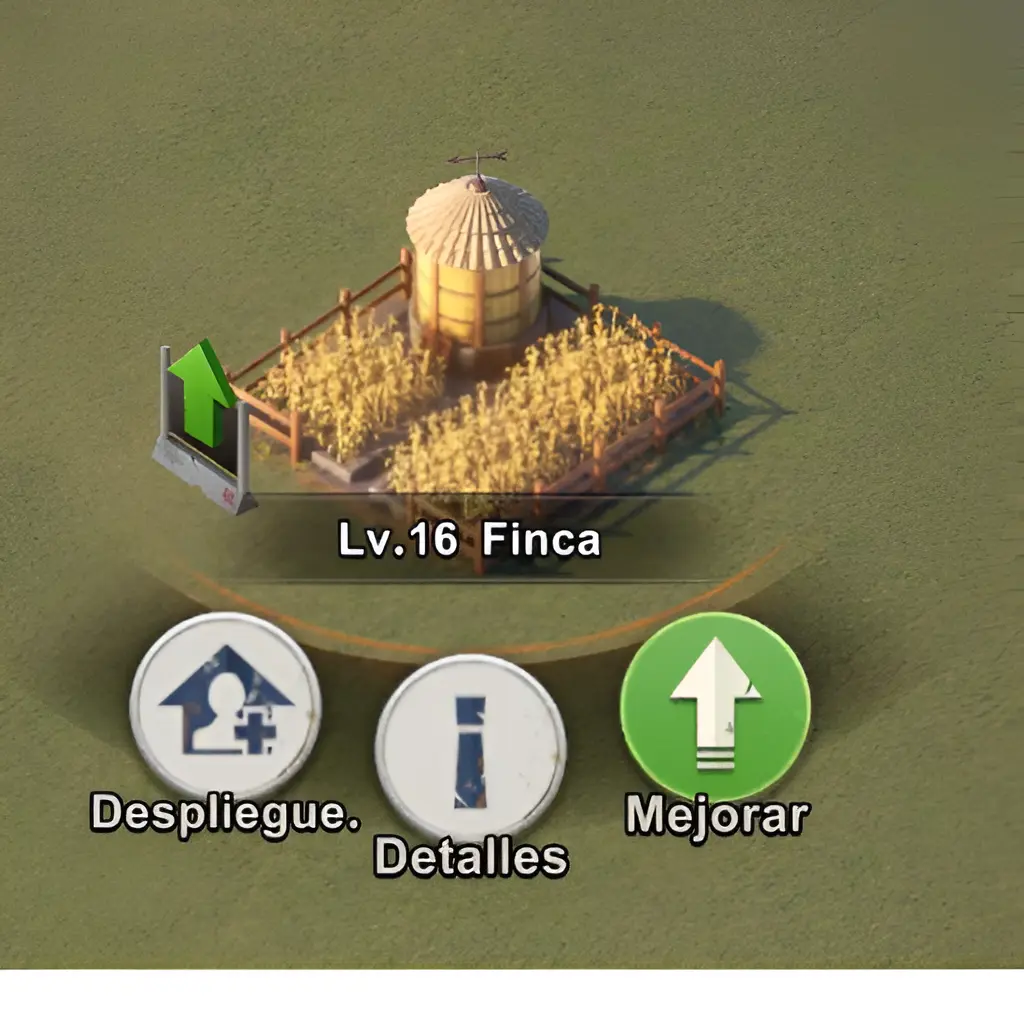
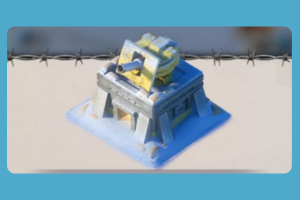
Without food you can't train or maintain your army. The Farm is your main food source — the higher its level, the faster you produce and the less you depend on gathering from the map.
Produces the food needed to build and upgrade structures.
| Lvl. | 🪵 Wood | 🥫 Food | 💰 Z Coin |
|---|---|---|---|
| 1 | --- | --- | --- |
| 2 | --- | 420 | --- |
| 3 | --- | 630 | --- |
| 4 | --- | 950 | --- |
| 5 | 1.9k | 1.9k | --- |
| 6 | 5.7k | 5.7k | 1.7k |
| 7 | 11.4k | 11.4k | 3.4k |
| 8 | --- | --- | --- |
| 9 | --- | --- | --- |
| 10 | --- | --- | --- |
| 11 | 87.7k | 87.7k | 26.3k |
| 12 | --- | --- | --- |
| 13 | --- | --- | --- |
| 14 | --- | --- | --- |
| 15 | 321.6k | 321.6k | 96.5k |
| Lvl. | 🪵 Wood | 🥫 Food | 💰 Z Coin |
|---|---|---|---|
| 16 | --- | --- | --- |
| 17 | --- | --- | --- |
| 18 | --- | --- | --- |
| 19 | --- | --- | --- |
| 20 | 2.81M | 2.81M | 844k |
| 21 | 3.93M | 3.93M | 1.18M |
| 22 | 5.12M | 5.12M | 1.54M |
| 23 | --- | --- | --- |
| 24 | --- | --- | --- |
| 25 | --- | --- | --- |
| 26 | --- | --- | --- |
| 27 | --- | --- | --- |
| 28 | --- | --- | --- |
| 29 | --- | --- | --- |
| 30 | --- | --- | --- |
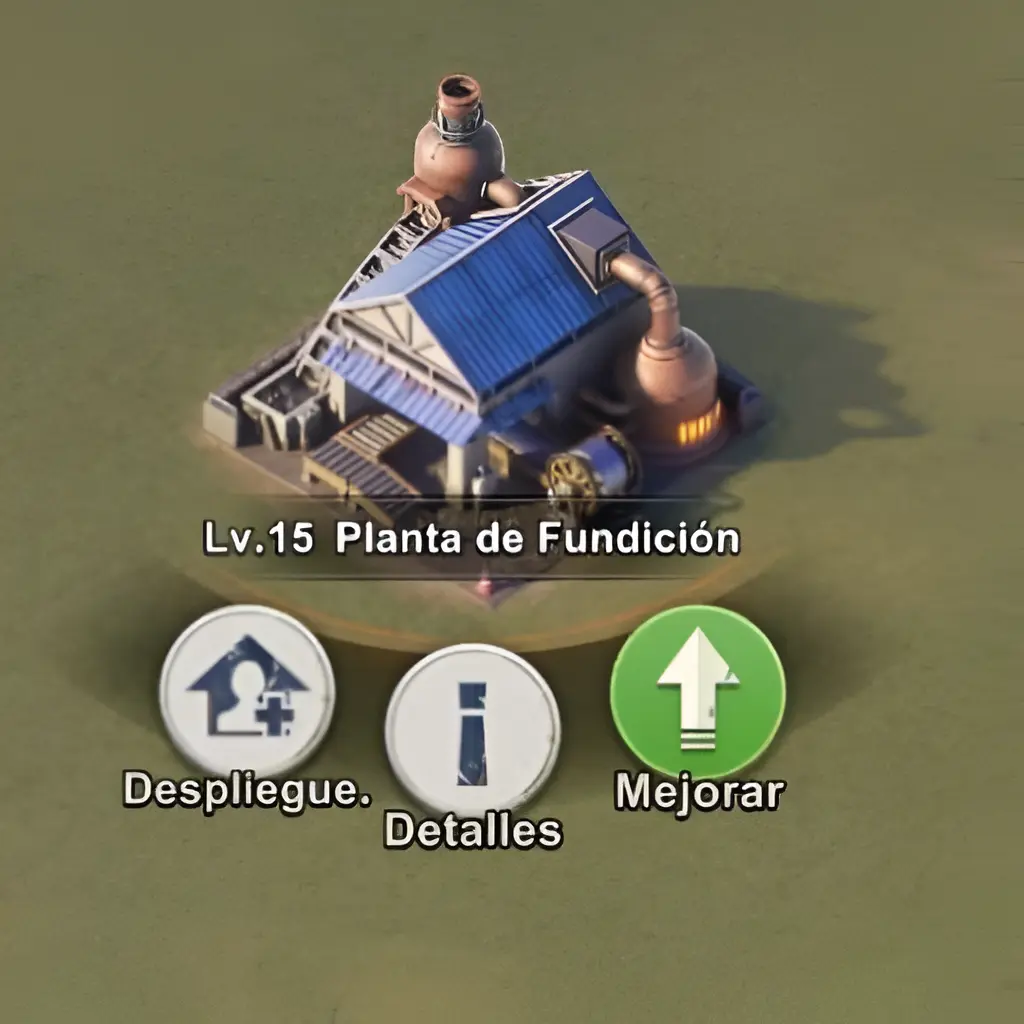
The Foundry produces alloys, an essential resource for crafting and upgrading hero equipment. If you want well-equipped heroes, you need this building running at a good level.
Produces improved alloys to upgrade hero equipment.
| Lvl. | 🪵 Wood | 🥫 Food | 💰 Z Coin |
|---|---|---|---|
| 1 | --- | --- | --- |
| 2 | 1.6k | 1.6k | --- |
| 3 | 2.4k | 2.4k | --- |
| 4 | 3.6k | 3.6k | --- |
| 5 | 7.3k | 7.3k | --- |
| 6 | 21.9k | 21.9k | 5.7k |
| 7 | 43.8k | 43.8k | 11.4k |
| 8 | 70k | 70k | 18.3k |
| 9 | 112.1k | 112.1k | 29.3k |
| 10 | 134.5k | 134.5k | 35.1k |
| 11 | 336.3k | 336.3k | 87.8k |
| 12 | 571.8k | 571.8k | 149k |
| 13 | --- | --- | --- |
| 14 | --- | --- | --- |
| 15 | --- | --- | --- |
| Lvl. | 🪵 Wood | 🥫 Food | 💰 Z Coin |
|---|---|---|---|
| 16 | --- | --- | --- |
| 17 | --- | --- | --- |
| 18 | --- | --- | --- |
| 19 | --- | --- | --- |
| 20 | --- | --- | --- |
| 21 | --- | --- | --- |
| 22 | --- | --- | --- |
| 23 | --- | --- | --- |
| 24 | --- | --- | --- |
| 25 | --- | --- | --- |
| 26 | --- | --- | --- |
| 27 | --- | --- | --- |
| 28 | --- | --- | --- |
| 29 | --- | --- | --- |
| 30 | --- | --- | --- |
The Training Field increases the number of troops you can train at the same time. The higher the level, the more efficient your soldier production — ideal for replenishing troops quickly after a battle.
Allows training more troops simultaneously and reduces training time.
| Lvl. | 🪵 Wood | 🥫 Food | 💰 Z Coin |
|---|---|---|---|
| 1 | --- | --- | --- |
| 2 | 850 | 850 | --- |
| 3 | 1.2k | 1.2k | --- |
| 4 | 1.9k | 1.9k | --- |
| 5 | 3.8k | 3.8k | --- |
| 6 | 11.4k | 11.4k | 1.7k |
| 7 | 22.8k | 22.8k | 3.4k |
| 8 | 36.5k | 36.5k | 5.4k |
| 9 | --- | --- | --- |
| 10 | --- | --- | --- |
| 11 | 175.5k | 175.5k | 26.3k |
| 12 | --- | --- | --- |
| 13 | 328.2k | 328.2k | 49.2k |
| 14 | 459.4k | 459.4k | 68.9k |
| 15 | 643.2k | 643.2k | 96.5k |
| Lvl. | 🪵 Wood | 🥫 Food | 💰 Z Coin |
|---|---|---|---|
| 16 | --- | --- | --- |
| 17 | --- | --- | --- |
| 18 | --- | --- | --- |
| 19 | --- | --- | --- |
| 20 | --- | --- | --- |
| 21 | --- | --- | --- |
| 22 | --- | --- | --- |
| 23 | --- | --- | --- |
| 24 | --- | --- | --- |
| 25 | --- | --- | --- |
| 26 | --- | --- | --- |
| 27 | --- | --- | --- |
| 28 | --- | --- | --- |
| 29 | --- | --- | --- |
| 30 | --- | --- | --- |
The Residence expands your base's population limit. Without enough population you can't have more troops — if you notice you can't recruit more soldiers, this building probably needs an upgrade.
Increases your base's population limit, allowing you to have more active troops.
| Lvl. | 🪵 Wood | 🥫 Food | 💰 Z Coin |
|---|---|---|---|
| 1 | --- | --- | --- |
| 2 | 850 | 850 | --- |
| 3 | 1.2k | 1.2k | --- |
| 4 | 1.9k | 1.9k | --- |
| 5 | 3.8k | 3.8k | --- |
| 6 | 11.4k | 11.4k | 1.7k |
| 7 | --- | --- | --- |
| 8 | 36.5k | 36.5k | 5.4k |
| 9 | --- | --- | --- |
| 10 | --- | --- | --- |
| 11 | --- | --- | --- |
| 12 | --- | --- | --- |
| 13 | 328.2k | 328.2k | 49.2k |
| 14 | 459.4k | 459.4k | 68.9k |
| 15 | --- | --- | --- |
| Lvl. | 🪵 Wood | 🥫 Food | 💰 Z Coin |
|---|---|---|---|
| 16 | --- | --- | --- |
| 17 | --- | --- | --- |
| 18 | 2.47M | 2.47M | 371.4k |
| 19 | 2.96M | 2.96M | 445.5k |
| 20 | --- | --- | --- |
| 21 | --- | --- | --- |
| 22 | --- | --- | --- |
| 23 | --- | --- | --- |
| 24 | --- | --- | --- |
| 25 | --- | --- | --- |
| 26 | --- | --- | --- |
| 27 | --- | --- | --- |
| 28 | --- | --- | --- |
| 29 | --- | --- | --- |
| 30 | --- | --- | --- |
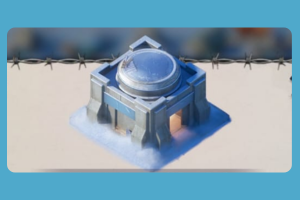
The Production Center boosts all your resources at once. It's a support building that enhances your base's overall output — don't underestimate it when you need to scale up fast.
Improves your base's overall resource production, accelerating construction progress.
| Lvl. | 🪵 Wood | 🥫 Food | 💰 Z Coin |
|---|---|---|---|
| 1 | --- | --- | --- |
| 2 | --- | --- | --- |
| 3 | --- | --- | --- |
| 4 | --- | --- | --- |
| 5 | --- | --- | --- |
| 6 | --- | --- | --- |
| 7 | --- | --- | --- |
| 8 | --- | --- | --- |
| 9 | 87.7k | 87.7k | --- |
| 10 | 105.3k | 105.3k | --- |
| 11 | 263.2k | 263.2k | --- |
| 12 | 447.5k | 447.5k | --- |
| 13 | 492.3k | 492.3k | --- |
| 14 | 689.2k | 689.2k | --- |
| 15 | --- | --- | --- |
| Lvl. | 🪵 Wood | 🥫 Food | 💰 Z Coin |
|---|---|---|---|
| 16 | --- | --- | --- |
| 17 | --- | --- | --- |
| 18 | --- | --- | --- |
| 19 | --- | --- | --- |
| 20 | --- | --- | --- |
| 21 | --- | --- | --- |
| 22 | --- | --- | --- |
| 23 | --- | --- | --- |
| 24 | --- | --- | --- |
| 25 | --- | --- | --- |
| 26 | --- | --- | --- |
| 27 | --- | --- | --- |
| 28 | --- | --- | --- |
| 29 | --- | --- | --- |
| 30 | --- | --- | --- |
The Wall is one of the buildings that takes the longest to upgrade in the entire game — and it's a mandatory requirement for leveling your HQ at several key milestones. My advice: always keep it in your construction queue. The higher your Wall, the more attacks you can withstand before your base gets broken into.
It's the main defense. When your HQ is attacked, deploy your defensive troops here.
| Lvl. | 🪵🥫 Wood & Food | 💰 Z Coin | Durability |
|---|---|---|---|
| 1 | --- | --- | 36.100 |
| 2 | 🪵3.3k / 🥫--- | --- | 36.200 |
| 3 | 🪵5k / 🥫--- | --- | 36.300 |
| 4 | 🪵--- / 🥫7.6k | --- | 36.400 |
| 5 | 15.2k | --- | 36.500 |
| 6 | 45.7k | 18.3k | 36.600 |
| 7 | --- | --- | 36.700 |
| 8 | --- | --- | 36.800 |
| 9 | --- | --- | 36.900 |
| 10 | --- | --- | 37.000 |
| 11 | 702k | 281k | 37.100 |
| 12 | --- | --- | 37.200 |
| 13 | --- | --- | 37.300 |
| 14 | --- | --- | 37.400 |
| 15 | --- | --- | 37.500 |
| Lvl. | 🪵🥫 Wood & Food | 💰 Z Coin | Durability |
|---|---|---|---|
| 16 | --- | --- | 37.600 |
| 17 | 5.95M | 2.38M | 37.700 |
| 18 | --- | --- | 37.800 |
| 19 | --- | --- | 37.900 |
| 20 | 22.50M | 9.00M | 38.000 |
| 21 | 31.50M | 12.60M | 38.100 |
| 22 | 40.96M | 16.40M | 38.200 |
| 23 | --- | --- | 38.300 |
| 24 | --- | --- | 38.400 |
| 25 | --- | --- | 38.500 |
| 26 | --- | --- | 38.600 |
| 27 | 188.12M | 75.24M | 38.700 |
| 28 | --- | --- | 38.800 |
| 29 | --- | --- | 38.900 |
| 30 | --- | --- | 39.000 |
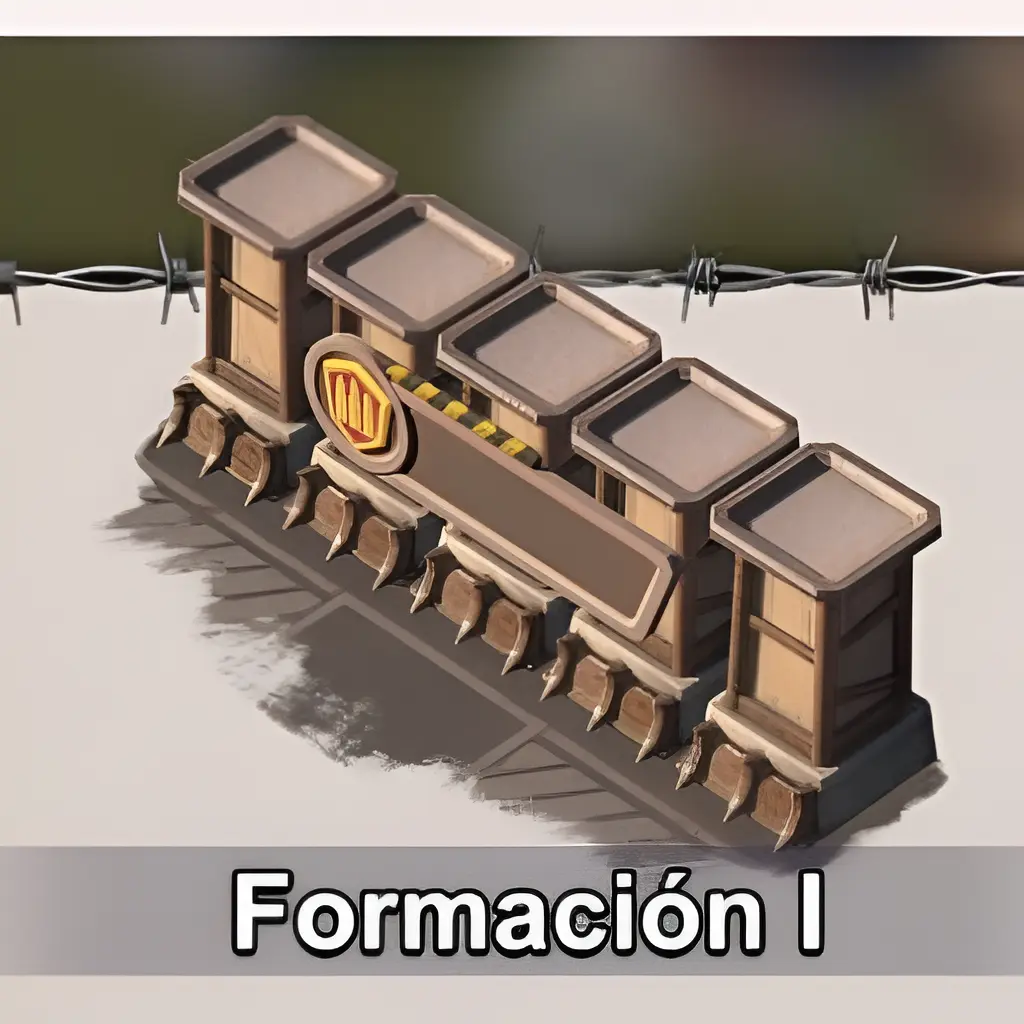
Not as urgent as the Wall or the Garden, but don't ignore it. Formation I is your main attack — the higher its level, the more power your first formation has in combat. Prioritize it over Formation II and III, which are secondary. Keep it at a solid level and you'll feel the difference in every battle.
Upgrading this building increases the attack and defense power of your main troop.
| Lvl. | 🪵🥫 Wood & Food | 💰 Z Coin | ATK & DEF |
|---|---|---|---|
| 1 | --- | --- | +1% |
| 2 | 5.2k | --- | +2% |
| 3 | 7.8k | --- | +3% |
| 4 | 11.7k | --- | +4% |
| 5 | 23.4k | --- | +5% |
| 6 | 70.4k | 13.7k | +6% |
| 7 | 140.9k | 27.4k | +7% |
| 8 | 225.4k | 43.9k | +8% |
| 9 | 360.7k | 70.2k | +9% |
| 10 | 432.9k | 84.2k | +10% |
| 11 | --- | --- | +11% |
| 12 | 1.83M | 358k | +12% |
| 13 | 2.02M | 394k | +13% |
| 14 | --- | --- | +14% |
| 15 | --- | --- | +15% |
| Lvl. | 🪵🥫 Wood & Food | 💰 Z Coin | ATK & DEF |
|---|---|---|---|
| 16 | --- | --- | +16% |
| 17 | 9.17M | 1.79M | +17% |
| 18 | --- | --- | +18% |
| 19 | --- | --- | +19% |
| 20 | --- | --- | +20% |
| 21 | --- | --- | +21% |
| 22 | --- | --- | +22% |
| 23 | --- | --- | +23% |
| 24 | --- | --- | +24% |
| 25 | --- | --- | +25% |
| 26 | --- | --- | +26% |
| 27 | --- | --- | +27% |
| 28 | --- | --- | +28% |
| 29 | --- | --- | +29% |
| 30 | --- | --- | +30% |
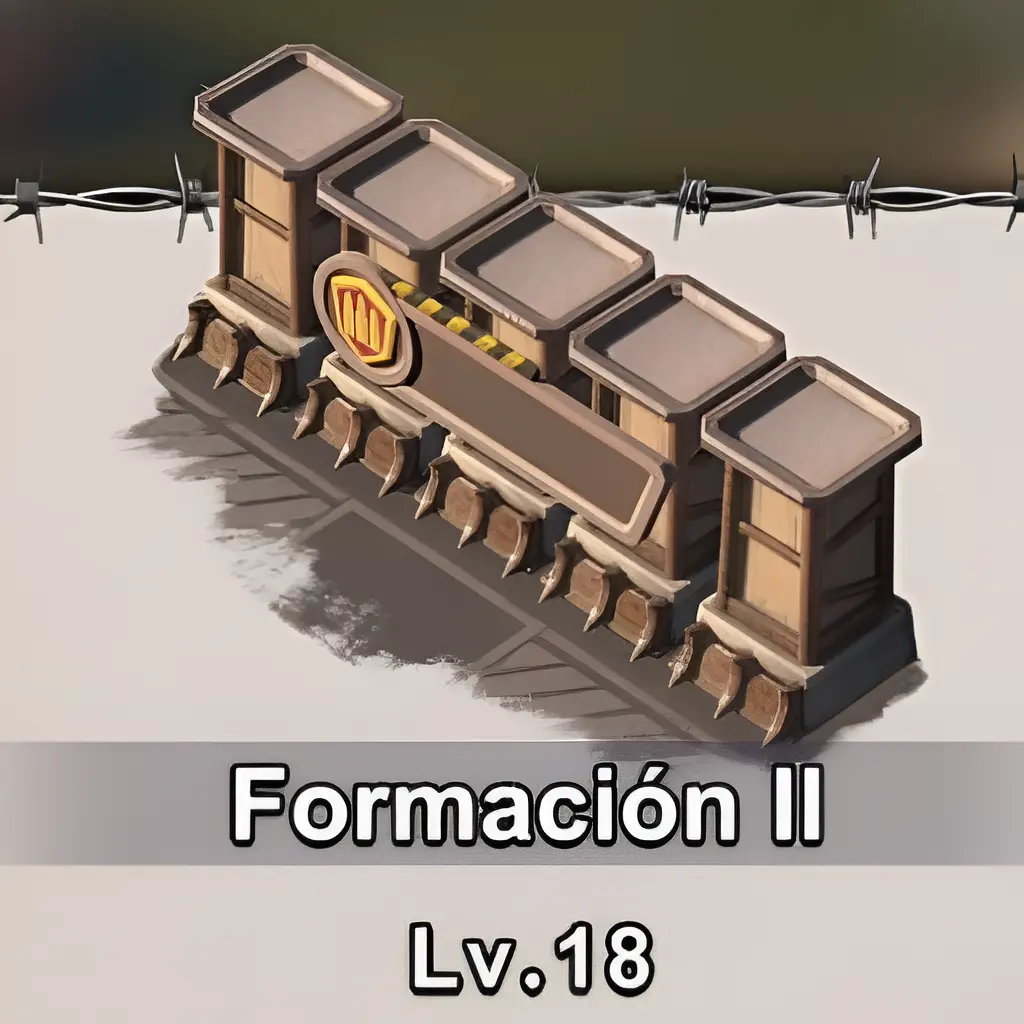
Formation II is your second line of attack. While not as urgent as Formation I, don't neglect it — in long battles and Alliance VS, having a strong second formation makes a real difference.
Upgrading this building increases the attack and defense power of your secondary troop.
| Lvl. | 🪵🥫 Wood & Food | 💰 Z Coin | ATK & DEF |
|---|---|---|---|
| 1 | --- | --- | +1% |
| 2 | 5.2k | --- | +2% |
| 3 | 7.8k | --- | +3% |
| 4 | 11.7k | --- | +4% |
| 5 | 23.4k | --- | +5% |
| 6 | 70.4k | 13.7k | +6% |
| 7 | 140.9k | 27.4k | +7% |
| 8 | 225.4k | 43.9k | +8% |
| 9 | 360.7k | 70.2k | +9% |
| 10 | 432.9k | 84.2k | +10% |
| 11 | --- | --- | +11% |
| 12 | --- | --- | +12% |
| 13 | --- | --- | +13% |
| 14 | --- | --- | +14% |
| 15 | --- | --- | +15% |
| Lvl. | 🪵🥫 Wood & Food | 💰 Z Coin | ATK & DEF |
|---|---|---|---|
| 16 | --- | --- | +16% |
| 17 | --- | --- | +17% |
| 18 | --- | --- | +18% |
| 19 | --- | --- | +19% |
| 20 | --- | --- | +20% |
| 21 | --- | --- | +21% |
| 22 | --- | --- | +22% |
| 23 | --- | --- | +23% |
| 24 | --- | --- | +24% |
| 25 | --- | --- | +25% |
| 26 | --- | --- | +26% |
| 27 | --- | --- | +27% |
| 28 | --- | --- | +28% |
| 29 | --- | --- | +29% |
| 30 | --- | --- | +30% |
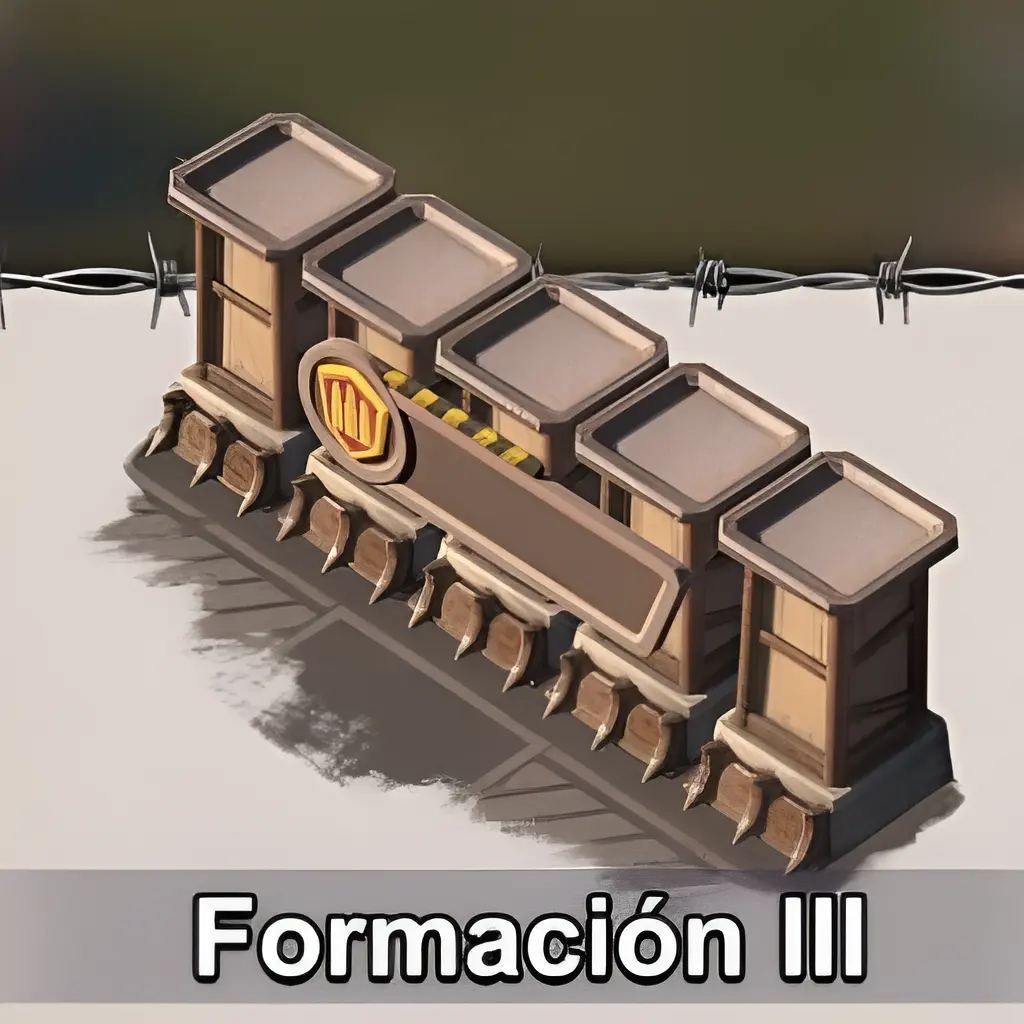
Formation III completes your offensive arsenal. Give it less priority than the first two, but once your Formation I and II are at a good level, leveling Formation III gives you an extra edge in alliance events.
Upgrading this building increases the attack and defense power of your third troop.
| Lvl. | 🪵🥫 Wood & Food | 💰 Z Coin | ATK & DEF |
|---|---|---|---|
| 1 | --- | --- | +1% |
| 2 | 5.2k | --- | +2% |
| 3 | 7.8k | --- | +3% |
| 4 | 11.7k | --- | +4% |
| 5 | 23.4k | --- | +5% |
| 6 | 70.4k | 13.7k | +6% |
| 7 | 140.9k | 27.4k | +7% |
| 8 | 225.4k | 43.9k | +8% |
| 9 | 360.7k | 70.2k | +9% |
| 10 | 432.9k | 84.2k | +10% |
| 11 | --- | --- | +11% |
| 12 | --- | --- | +12% |
| 13 | --- | --- | +13% |
| 14 | --- | --- | +14% |
| 15 | --- | --- | +15% |
| Lvl. | 🪵🥫 Wood & Food | 💰 Z Coin | ATK & DEF |
|---|---|---|---|
| 16 | --- | --- | +16% |
| 17 | --- | --- | +17% |
| 18 | --- | --- | +18% |
| 19 | --- | --- | +19% |
| 20 | --- | --- | +20% |
| 21 | --- | --- | +21% |
| 22 | --- | --- | +22% |
| 23 | --- | --- | +23% |
| 24 | --- | --- | +24% |
| 25 | --- | --- | +25% |
| 26 | --- | --- | +26% |
| 27 | --- | --- | +27% |
| 28 | --- | --- | +28% |
| 29 | --- | --- | +29% |
| 30 | --- | --- | +30% |
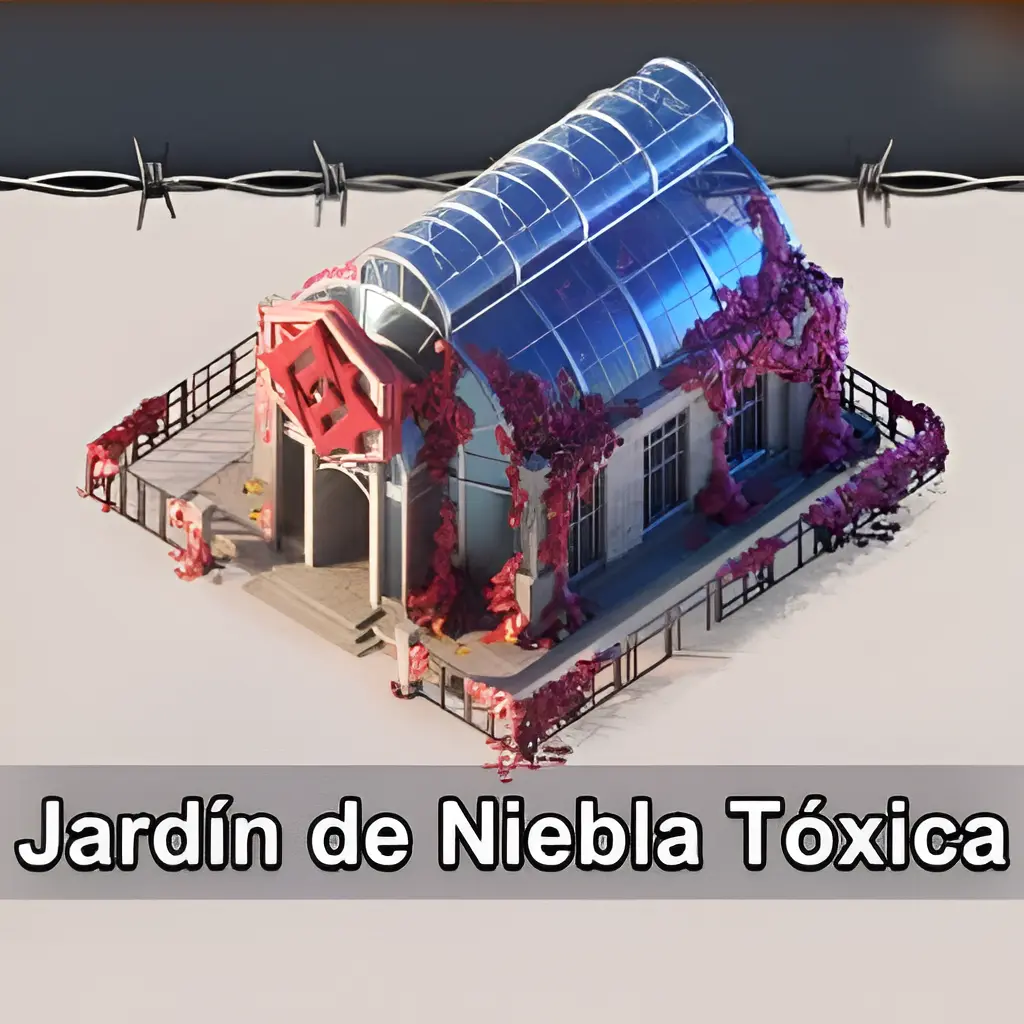
If you're F2P and your first formation is Crimson Rose, this building is your number one priority. Leveling it up increases your troop capacity for that faction — and Crimson Rose heroes are the easiest to acquire early in the game. If your attack power feels low, the Toxic Fog Garden is probably the culprit. Upgrade it before anything else.
Cultiva plantas venenosas que aumentan el ataque y defensa de los héroes de la facción Rosa Sangrienta.
| Lvl. | 🪵🥫 Wood & Food | 💰 Z Coin | ATQ y DEF | Capacidad + |
|---|---|---|---|---|
| 1 | --- | --- | --- | --- |
| 2 | 3.3k | --- | --- | --- |
| 3 | 5k | --- | --- | --- |
| 4 | 7.6k | --- | --- | --- |
| 5 | 15.2k | --- | --- | --- |
| 6 | 45.7k | 13.7k | --- | --- |
| 7 | 91.4k | 27.4k | --- | --- |
| 8 | 146.2k | 43.9k | --- | --- |
| 9 | 234k | 70.2k | --- | --- |
| 10 | 280.8k | 84.2k | --- | --- |
| 11 | 702k | 211k | --- | --- |
| 12 | 1.19M | 358k | --- | --- |
| 13 | 1.31M | 394k | --- | --- |
| 14 | --- | --- | --- | --- |
| 15 | --- | --- | --- | --- |
| Lvl. | 🪵🥫 Wood & Food | 💰 Z Coin | ATQ y DEF | Capacidad + |
|---|---|---|---|---|
| 16 | --- | --- | --- | --- |
| 17 | --- | --- | --- | --- |
| 18 | --- | --- | --- | --- |
| 19 | 12.50M | 12.50M | --- | --- |
| 20 | 22.50M | 6.7M | --- | --- |
| 21 | 31.50M | 9.45M | --- | --- |
| 22 | --- | --- | --- | --- |
| 23 | --- | --- | --- | --- |
| 24 | --- | --- | --- | --- |
| 25 | --- | --- | --- | --- |
| 26 | --- | --- | --- | --- |
| 27 | --- | --- | --- | --- |
| 28 | --- | --- | --- | --- |
| 29 | --- | --- | --- | --- |
| 30 | --- | --- | --- | --- |
The Steel Factory boosts ATK and DEF for Guardian of Order faction troops. If you use heroes from that faction in your formation, this building is a priority for you.
Aumenta el poder de ataque y defensa de los héroes de la facción Guardián del Orden.
| Lvl. | 🪵🥫 Wood & Food | 💰 Z Coin | ATQ y DEF | Capacidad + |
|---|---|---|---|---|
| 1 | --- | --- | --- | --- |
| 2 | 3.3k | --- | --- | --- |
| 3 | 5k | --- | --- | --- |
| 4 | 7.6k | --- | --- | --- |
| 5 | 15.2k | --- | --- | --- |
| 6 | 45.7k | 13.7k | --- | --- |
| 7 | 91.4k | 27.4k | --- | --- |
| 8 | 146.2k | 43.9k | --- | --- |
| 9 | 234k | 70.2k | --- | --- |
| 10 | 280.8k | 84.2k | --- | --- |
| 11 | 702k | 211k | --- | --- |
| 12 | 1.19M | 358k | --- | --- |
| 13 | 1.31M | 394k | --- | --- |
| 14 | 1.83M | 551k | --- | --- |
| 15 | 2.57M | 772k | --- | --- |
| Lvl. | 🪵🥫 Wood & Food | 💰 Z Coin | ATQ y DEF | Capacidad + |
|---|---|---|---|---|
| 16 | 4.58M | 1.37M | --- | --- |
| 17 | 5.95M | 1.79M | --- | --- |
| 18 | 10.41M | 3.13M | --- | --- |
| 19 | 12.50M | 3.75M | --- | --- |
| 20 | 22.50M | 6.7M | --- | --- |
| 21 | 31.50M | 9.45M | --- | --- |
| 22 | --- | --- | --- | --- |
| 23 | --- | --- | --- | --- |
| 24 | --- | --- | --- | --- |
| 25 | --- | --- | --- | --- |
| 26 | --- | --- | --- | --- |
| 27 | --- | --- | --- | --- |
| 28 | --- | --- | --- | --- |
| 29 | --- | --- | --- | --- |
| 30 | --- | --- | --- | --- |
The Dawn Tower powers up the Shadow Hunters faction. If your main or secondary formation uses Shadow Hunter heroes, keep this building leveled alongside your troops.
Aumenta el poder de ataque y defensa de los héroes de la facción Cazadores de Sombras.
| Lvl. | 🪵🥫 Wood & Food | 💰 Z Coin | ATQ y DEF | Capacidad + |
|---|---|---|---|---|
| 1 | --- | --- | --- | --- |
| 2 | 3.3k | --- | --- | --- |
| 3 | 5k | --- | --- | --- |
| 4 | 7.6k | --- | --- | --- |
| 5 | 15.2k | --- | --- | --- |
| 6 | 45.7k | 13.7k | --- | --- |
| 7 | 91.4k | 27.4k | --- | --- |
| 8 | 146.2k | 43.9k | --- | --- |
| 9 | 234k | 70.2k | --- | --- |
| 10 | 280.8k | 84.2k | --- | --- |
| 11 | 702k | 211k | --- | --- |
| 12 | 1.19M | 358k | --- | --- |
| 13 | 1.31M | 394k | --- | --- |
| 14 | 1.83M | 551k | --- | --- |
| 15 | 2.57M | 772k | --- | --- |
| Lvl. | 🪵🥫 Wood & Food | 💰 Z Coin | ATQ y DEF | Capacidad + |
|---|---|---|---|---|
| 16 | 4.58M | 1.37M | --- | --- |
| 17 | 5.95M | 1.79M | --- | --- |
| 18 | 10.41M | 3.13M | --- | --- |
| 19 | 12.50M | 3.75M | --- | --- |
| 20 | 22.50M | 6.7M | --- | --- |
| 21 | 31.50M | 9.45M | --- | --- |
| 22 | --- | --- | --- | --- |
| 23 | --- | --- | --- | --- |
| 24 | --- | --- | --- | --- |
| 25 | --- | --- | --- | --- |
| 26 | --- | --- | --- | --- |
| 27 | --- | --- | --- | --- |
| 28 | --- | --- | --- | --- |
| 29 | --- | --- | --- | --- |
| 30 | --- | --- | --- | --- |
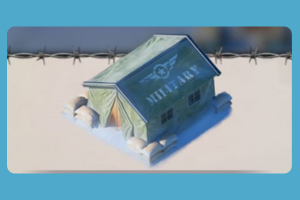
Give this building a lot of priority. The Military Center determines how many soldiers you can have in your base — and more soldiers means more defense power on your Wall and more overall power in combat. It's a direct chain: higher Military level → more soldiers → more power. If your defense feels weak, this is a big part of the problem.
Trains military troops. Upgrade to unlock more units and reduce training times.
| Lvl. | 🪵🥫 Wood & Food | 💰 Z Coin | Límite de unid. |
|---|---|---|---|
| 1 | --- | --- | --- |
| 2 | 5.2k | --- | --- |
| 3 | --- | --- | --- |
| 4 | --- | --- | --- |
| 5 | --- | --- | --- |
| 6 | 70.4k | 9.1k | --- |
| 7 | 140.9k | 18.3k | --- |
| 8 | --- | --- | --- |
| 9 | --- | --- | --- |
| 10 | --- | --- | --- |
| 11 | 1.08M | 140k | --- |
| 12 | 1.83M | 239k | --- |
| 13 | 2.02M | 263k | --- |
| 14 | 2.83M | 368k | --- |
| 15 | --- | --- | --- |
| Lvl. | 🪵🥫 Wood & Food | 💰 Z Coin | Límite de unid. |
|---|---|---|---|
| 16 | --- | --- | --- |
| 17 | --- | --- | --- |
| 18 | --- | --- | --- |
| 19 | 🪵19.7M / 🥫19.27M | 2.50M | --- |
| 20 | 34.69M | 4.50M | --- |
| 21 | --- | --- | --- |
| 22 | --- | --- | --- |
| 23 | --- | --- | --- |
| 24 | --- | --- | --- |
| 25 | --- | --- | --- |
| 26 | --- | --- | --- |
| 27 | --- | --- | --- |
| 28 | --- | --- | --- |
| 29 | --- | --- | --- |
| 30 | 795.82M | 103.55M | --- |
The Restaurant increases troop morale and movement speed. While not the most urgent building, at higher levels it makes a difference in reaction speed during war events.
Boosts troop morale, increasing their march speed and reducing healing time.
| Lvl. | 🪵🥫 Wood & Food | ⚡ Train Speed |
|---|---|---|
| 1 | --- | +2% |
| 2 | 1.2k | +4% |
| 3 | 1.9k | +6% |
| 4 | 2.8k | +8% |
| 5 | 5.7k | +10% |
| 6 | 17.1k | +12% |
| 7 | 34.2k | +14% |
| 8 | 54.8k | +16% |
| 9 | 87.7k | +18% |
| 10 | 105.3k | +20% |
| 11 | --- | +22% |
| 12 | --- | +24% |
| 13 | 492k | +26% |
| 14 | --- | +28% |
| 15 | 964.9k | +30% |
| Lvl. | 🪵🥫 Wood & Food | ⚡ Train Speed |
|---|---|---|
| 16 | --- | +32% |
| 17 | --- | +34% |
| 18 | --- | +36% |
| 19 | --- | +38% |
| 20 | --- | +40% |
| 21 | --- | +42% |
| 22 | --- | +44% |
| 23 | --- | +46% |
| 24 | --- | +48% |
| 25 | --- | +50% |
| 26 | --- | +52% |
| 27 | --- | +54% |
| 28 | --- | +56% |
| 29 | --- | +58% |
| 30 | --- | +60% |
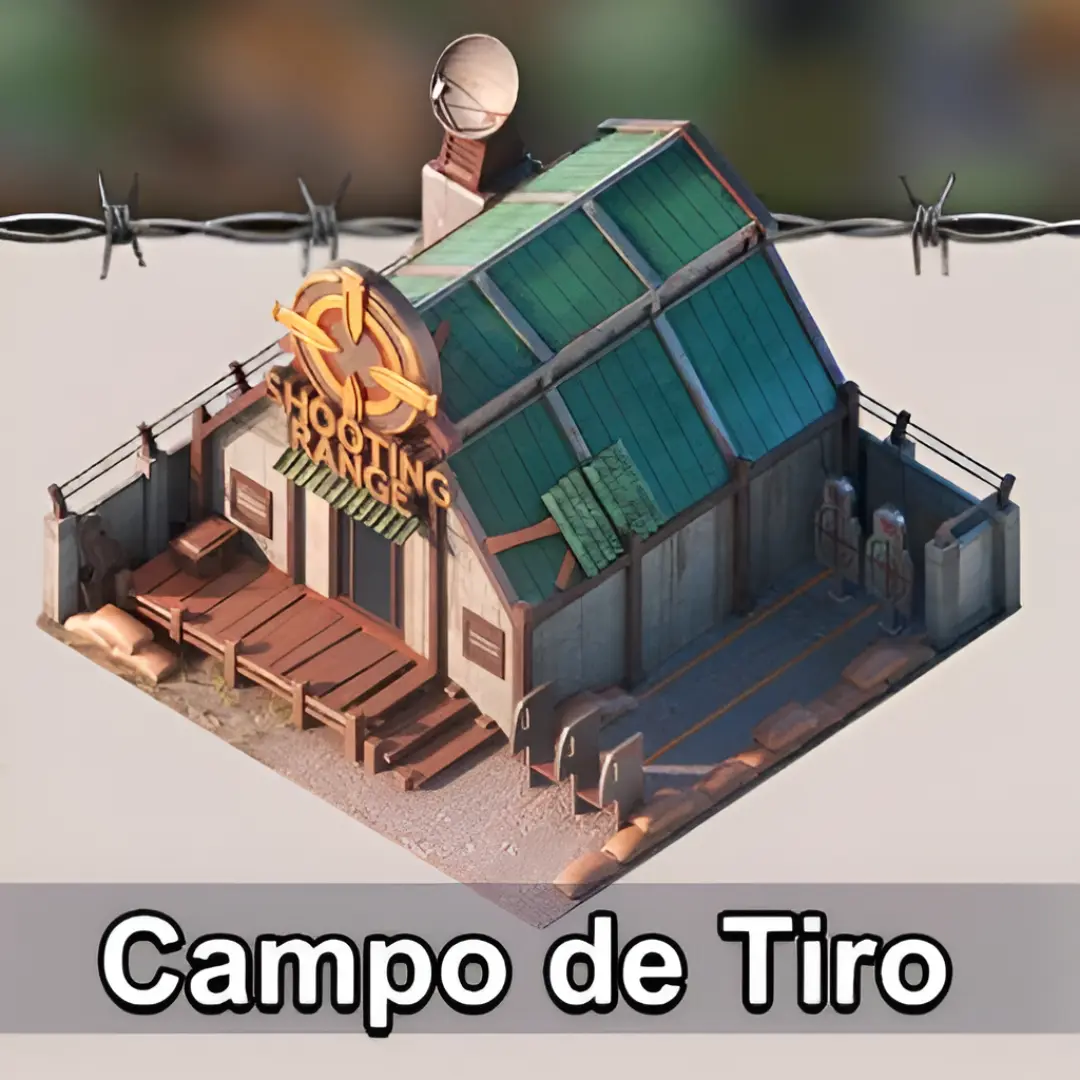
The Shooting Range — along with the other 2 recruitment fields — is where you train your soldiers. Each field recruits a different type of troop. Level them evenly — there's no point in having one field very high and the others low, since you need a variety of troops for a balanced formation.
Trains ranged units. Upgrade to unlock elite snipers and reduce training costs.
| Lvl. | 🪵🥫 Wood & Food | 💰 Z Coin | Qty. Trained | Train Speed |
|---|---|---|---|---|
| 1 | --- | --- | --- | --- |
| 2 | 1.6k | --- | --- | --- |
| 3 | 2.5k | --- | --- | --- |
| 4 | 3.8k | --- | --- | --- |
| 5 | 7.6k | --- | --- | --- |
| 6 | 22.8k | 13.7k | --- | --- |
| 7 | 45.7k | 27.4k | --- | --- |
| 8 | 73.1k | 43.9k | --- | --- |
| 9 | 117k | 70.2k | --- | --- |
| 10 | 140.4k | 84.2k | --- | --- |
| 11 | 351k | 211k | --- | --- |
| 12 | 596.7k | 358k | --- | --- |
| 13 | 656.4k | 394k | --- | --- |
| 14 | 918.9k | 551k | --- | --- |
| 15 | 1.28M | 772k | --- | --- |
| Lvl. | 🪵🥫 Wood & Food | 💰 Z Coin | Qty. Trained | Train Speed |
|---|---|---|---|---|
| 16 | 2.29M | 1.37M | --- | --- |
| 17 | 2.97M | 1.79M | --- | --- |
| 18 | 5.20M | 3.13M | --- | --- |
| 19 | 6.25M | 3.75M | --- | --- |
| 20 | 11.25M | 6.75M | --- | --- |
| 21 | 15.75M | 9.45M | --- | --- |
| 22 | 20.48M | 12.30M | --- | --- |
| 23 | --- | --- | --- | --- |
| 24 | --- | --- | --- | --- |
| 25 | --- | --- | --- | --- |
| 26 | --- | --- | --- | --- |
| 27 | --- | --- | --- | --- |
| 28 | 131.68M | 79.04M | --- | --- |
| 29 | 184.36M | 110.20M | --- | --- |
| 30 | 258.1M | 154.85M | --- | --- |
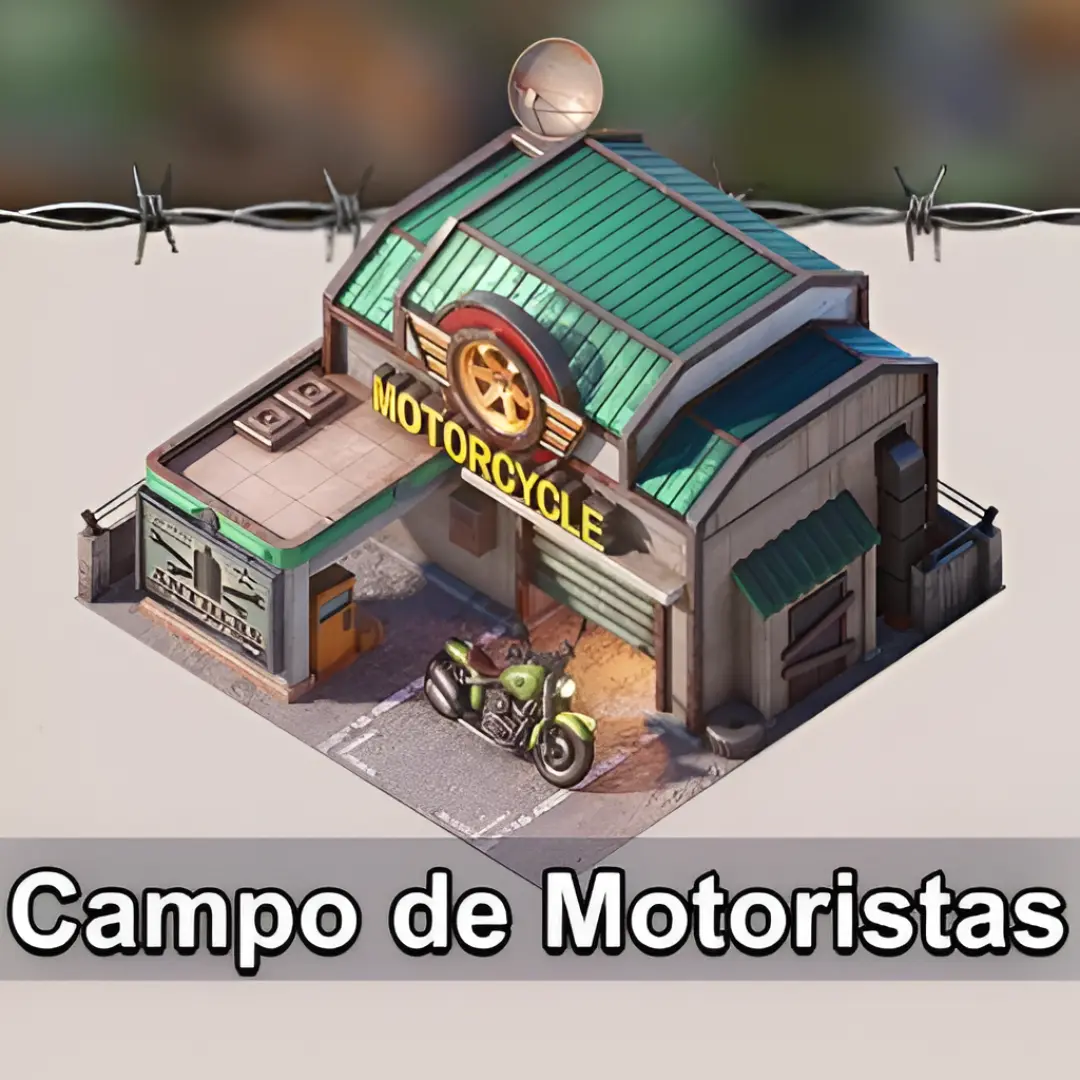
The Biker Field trains fast mobility troops. They're ideal for raiding and tactical movements on the map. Level it evenly with the other recruitment fields for a balanced formation.
Trains motorcycle-mounted units. High speed and mobility on the battlefield.
| Lvl. | 🪵🥫 Wood & Food | 💰 Z Coin | Qty. Trained | Train Speed |
|---|---|---|---|---|
| 1 | --- | --- | --- | --- |
| 2 | 1.6k | --- | --- | --- |
| 3 | 2.5k | --- | --- | --- |
| 4 | 3.8k | --- | --- | --- |
| 5 | 7.6k | --- | --- | --- |
| 6 | 22.8k | 13.7k | --- | --- |
| 7 | 45.7k | 27.4k | --- | --- |
| 8 | 73.1k | 43.9k | --- | --- |
| 9 | 117k | 70.2k | --- | --- |
| 10 | 140.4k | 84.2k | --- | --- |
| 11 | 351k | 211k | --- | --- |
| 12 | 596.7k | 358k | --- | --- |
| 13 | 656.4k | 394k | --- | --- |
| 14 | 918.9k | 551k | --- | --- |
| 15 | 1.28M | 772k | --- | --- |
| Lvl. | 🪵🥫 Wood & Food | 💰 Z Coin | Qty. Trained | Train Speed |
|---|---|---|---|---|
| 16 | 2.29M | 1.37M | --- | --- |
| 17 | 2.97M | 1.79M | --- | --- |
| 18 | 5.20M | 3.13M | --- | --- |
| 19 | 6.25M | 3.75M | --- | --- |
| 20 | 11.25M | 6.75M | --- | --- |
| 21 | 15.75M | 9.45M | --- | --- |
| 22 | 20.48M | 12.30M | --- | --- |
| 23 | --- | --- | --- | --- |
| 24 | --- | --- | --- | --- |
| 25 | --- | --- | --- | --- |
| 26 | --- | --- | --- | --- |
| 27 | --- | --- | --- | --- |
| 28 | 131.68M | 79.04M | --- | --- |
| 29 | 184.36M | 110.20M | --- | --- |
| 30 | 258.1M | 154.85M | --- | --- |
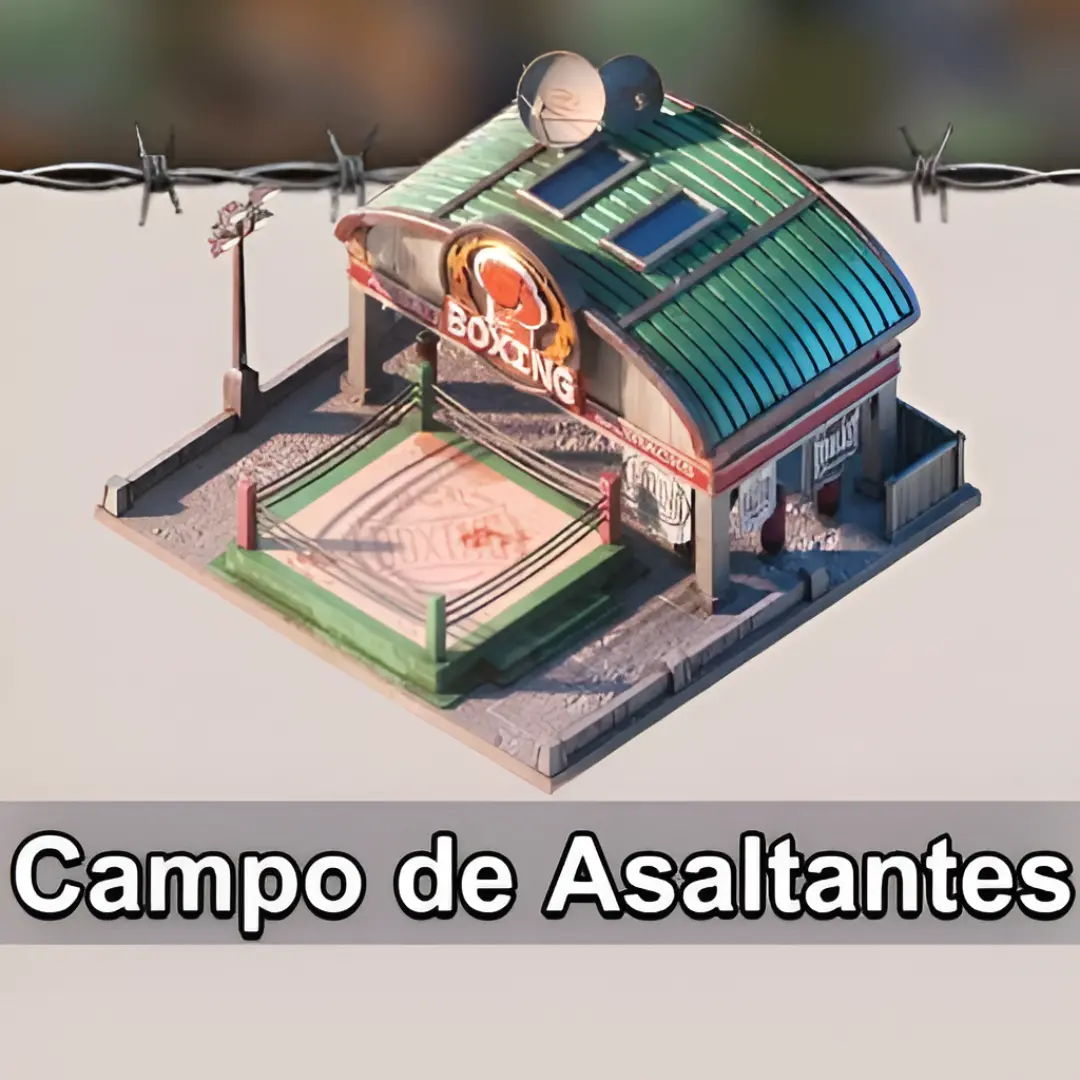
The Assault Field trains your heaviest and most resistant troops. They're the backbone of any Rally attack and capital defense. Keep it at the same level as your other recruitment fields.
Entrena unidades de asalto pesado. Alta defensa y daño cuerpo a cuerpo.
| Lvl. | 🪵🥫 Wood & Food | 💰 Z Coin | Qty. Trained | Train Speed |
|---|---|---|---|---|
| 1 | --- | --- | --- | --- |
| 2 | 1.6k | --- | --- | --- |
| 3 | 2.5k | --- | --- | --- |
| 4 | 3.8k | --- | --- | --- |
| 5 | 7.6k | --- | --- | --- |
| 6 | 22.8k | 13.7k | --- | --- |
| 7 | 45.7k | 27.4k | --- | --- |
| 8 | 73.1k | 43.9k | --- | --- |
| 9 | 117k | 70.2k | --- | --- |
| 10 | 140.4k | 84.2k | --- | --- |
| 11 | 351k | 211k | --- | --- |
| 12 | 596.7k | 358k | --- | --- |
| 13 | 656.4k | 394k | --- | --- |
| 14 | 918.9k | 551k | --- | --- |
| 15 | 1.28M | 772k | --- | --- |
| Lvl. | 🪵🥫 Wood & Food | 💰 Z Coin | Qty. Trained | Train Speed |
|---|---|---|---|---|
| 16 | 2.29M | 1.37M | --- | --- |
| 17 | 2.97M | 1.79M | --- | --- |
| 18 | 5.20M | 3.13M | --- | --- |
| 19 | 6.25M | 3.75M | --- | --- |
| 20 | 11.25M | 6.75M | --- | --- |
| 21 | 15.75M | 9.45M | --- | --- |
| 22 | 20.48M | 12.30M | --- | --- |
| 23 | --- | --- | --- | --- |
| 24 | --- | --- | --- | --- |
| 25 | --- | --- | --- | --- |
| 26 | --- | --- | --- | --- |
| 27 | --- | --- | --- | --- |
| 28 | 131.68M | 79.04M | --- | --- |
| 29 | 184.36M | 110.20M | --- | --- |
| 30 | 258.1M | 154.85M | --- | --- |
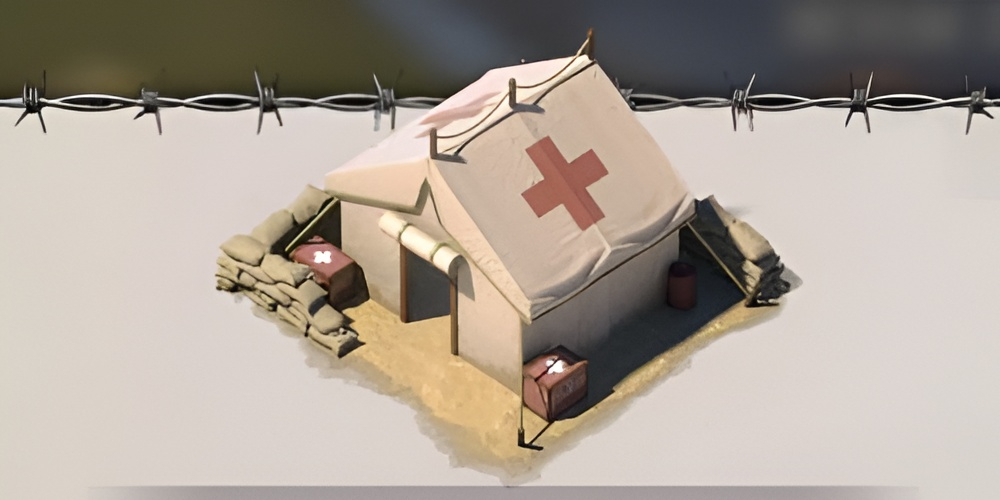
The Hospital recovers wounded troops after every battle. Without a high-level Hospital you'll permanently lose soldiers — it's one of the buildings you'll appreciate most once you start participating in alliance wars.
Heals your wounded troops after combat. Critical for PvP and alliance events.
| Lvl. | 🪵🥫 Wood & Food | 💰 Z Coin | Capacidad |
|---|---|---|---|
| 1 | --- | --- | --- |
| 2 | --- | --- | --- |
| 3 | --- | --- | --- |
| 4 | --- | --- | --- |
| 5 | 6.3k | --- | --- |
| 6 | 19k | 4.5k | --- |
| 7 | 38k | 9.1k | --- |
| 8 | 60.9k | 14.6k | --- |
| 9 | 97.5k | 23.4k | --- |
| 10 | 117k | 28.1k | --- |
| 11 | 292.5k | 70.2k | --- |
| 12 | 🪵497.2k / 🥫292.5k | 119k | --- |
| 13 | 547k | 131k | --- |
| 14 | --- | --- | --- |
| 15 | --- | --- | --- |
| Lvl. | 🪵🥫 Wood & Food | 💰 Z Coin | Capacidad |
|---|---|---|---|
| 16 | --- | --- | --- |
| 17 | 2.48M | 595k | --- |
| 18 | 4.34M | 1.04M | --- |
| 19 | --- | --- | --- |
| 20 | --- | --- | --- |
| 21 | --- | --- | --- |
| 22 | --- | --- | --- |
| 23 | --- | --- | --- |
| 24 | --- | --- | --- |
| 25 | --- | --- | --- |
| 26 | --- | --- | --- |
| 27 | 78.38M | 18.81M | --- |
| 28 | 109.73M | 26.31M | --- |
| 29 | --- | --- | --- |
| 30 | --- | --- | --- |
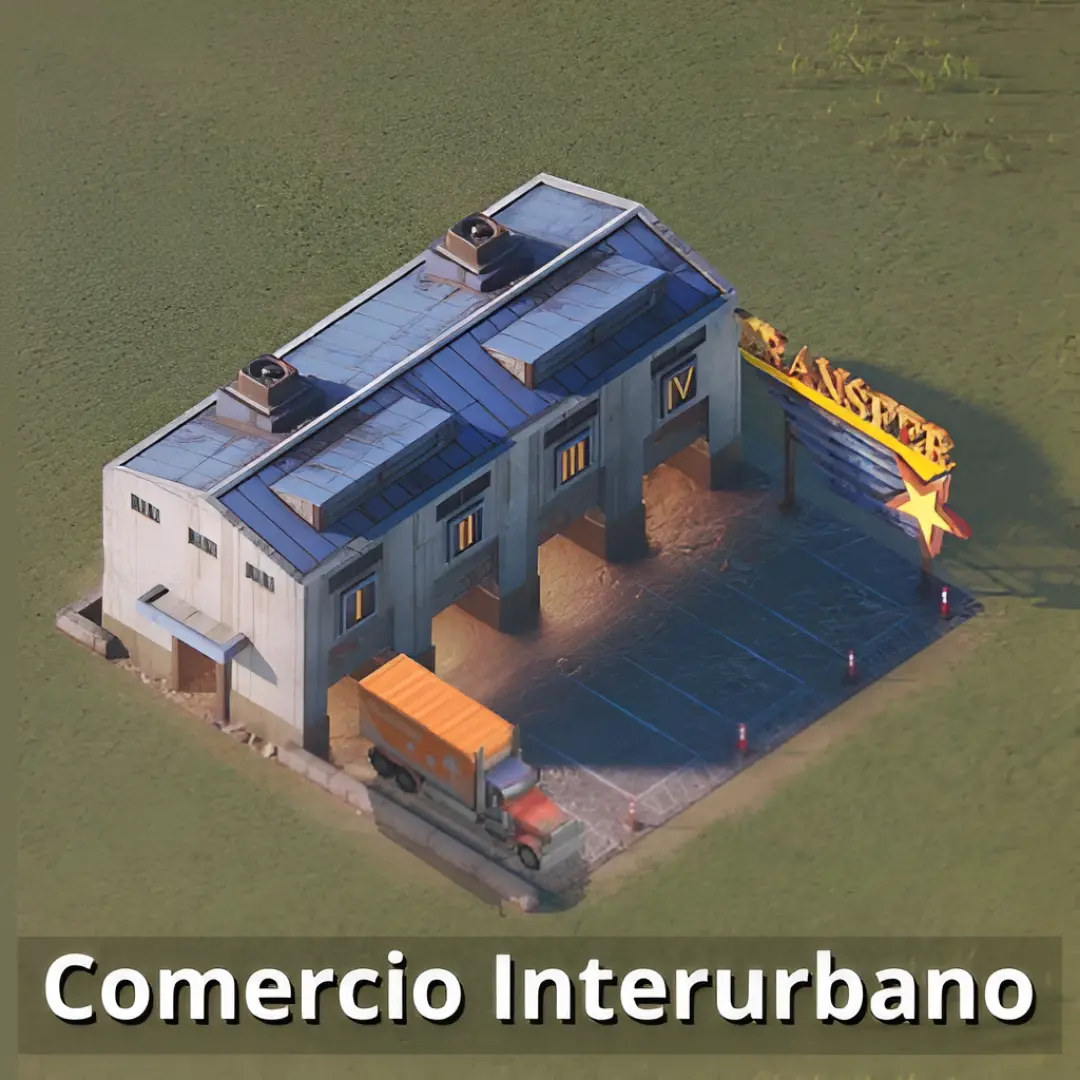
The Intercity Trade building lets you send trucks loaded with resources to other cities and earn rewards in return. A steady source of passive income — keep it active and collect regularly to maximize your resource flow.
Trading system with other cities. Send up to 4 daily trucks with hero escorts. Other players can raid them, but you don't lose troops in combat.
The more tickets you use consecutively, the higher the chance of getting high-quality trucks:
| Attempt | Calidad D | Calidad C | Calidad B | Calidad A | Calidad S |
|---|---|---|---|---|---|
| 1º | 50% | 30% | 10% | 5% | 5% |
| 2º | 30% | 30% | 20% | 10% | 10% |
| 3º | 20% | 20% | 30% | 15% | 15% |
| 4º | 0% | 20% | 40% | 20% | 20% |
| 5º | 0% | 0% | 50% | 25% | 25% |
| 6º+ | 0% | 0% | 0% | 0% | 100% 🎉 |
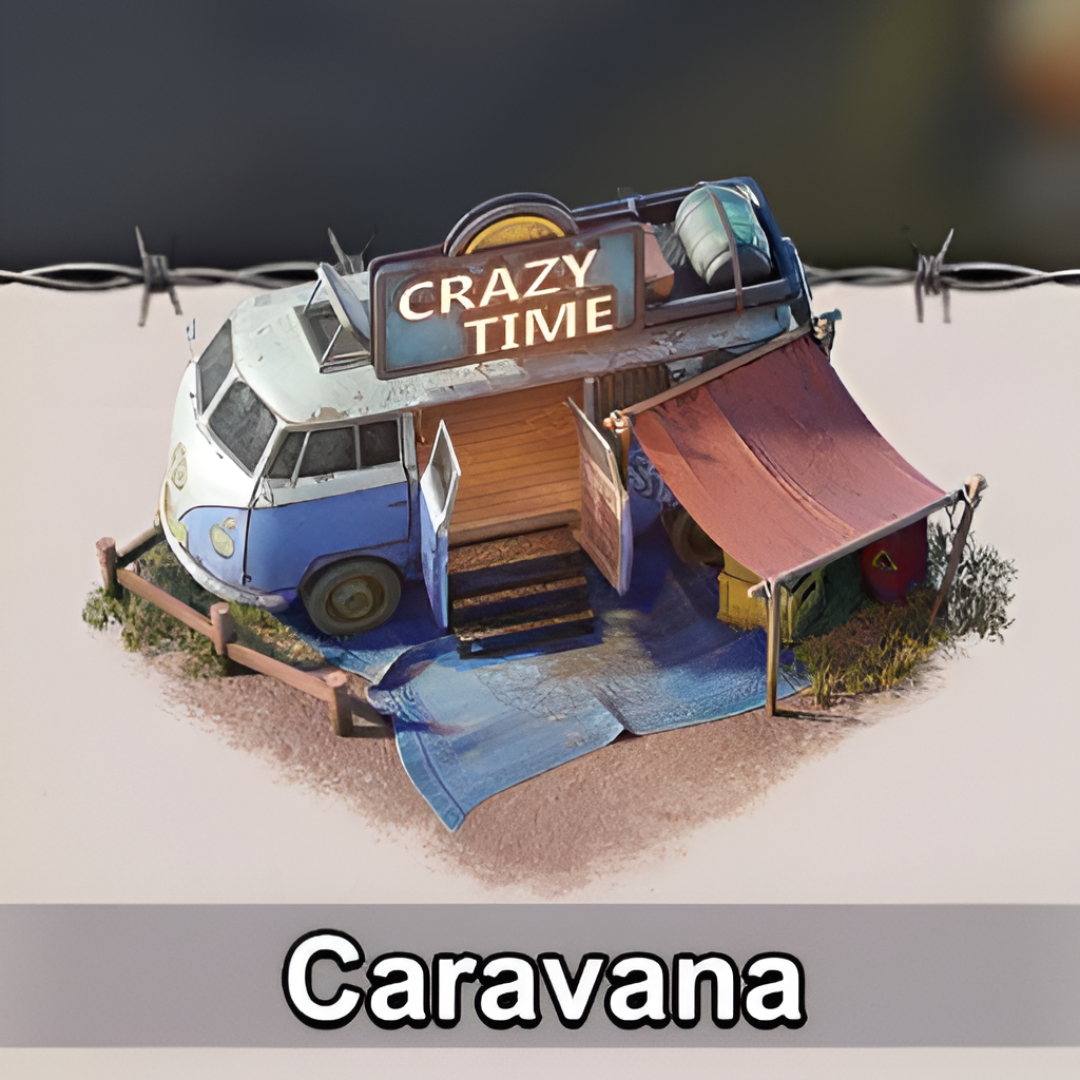
The Radar unlocks the Hero Battlefield and special missions. It also expands your vision range on the map, helping you scout enemy bases and plan attacks more effectively.
The Caravan contains 2 game modes: Hero Battlefield (faction battles) and Special Action (individual challenges).
Challenge 3 battlefields divided by faction. Complete chapters to earn 🏅 Honor Badges.
📊 Chapter System:
🏅 Rewards: Honor Badges (redeemable in the shop)
📊 Chapter System:
🏅 Rewards: Honor Badges (redeemable in the shop)
📊 Chapter System:
🏅 Rewards: Honor Badges (redeemable in the shop)
Progress resets on Sundays, Tuesdays and Thursdays
You can only select one chapter per battlefield before the reset. It cannot be changed once selected.
Each hero can only participate in ONE battlefield per cycle. Distribute efficiently!
Canjea en la tienda por: Fragmento de Héroe Naranja Universal y más objetos
Se desbloquea al superar completamente el Campo Rosa de Sangre Lvl.20
40 levels of progressive challenge with unique rewards.
Difficulty: Basic
Starting rewards
Difficulty: Intermediate
Improved rewards
Difficulty: Advanced
Superior rewards
Difficulty: Elite
Exclusive rewards
Each level grants unique rewards upon completing it for the first time.
💡 Tip: Complete levels progressively to maximize your rewards and unlock advanced content.
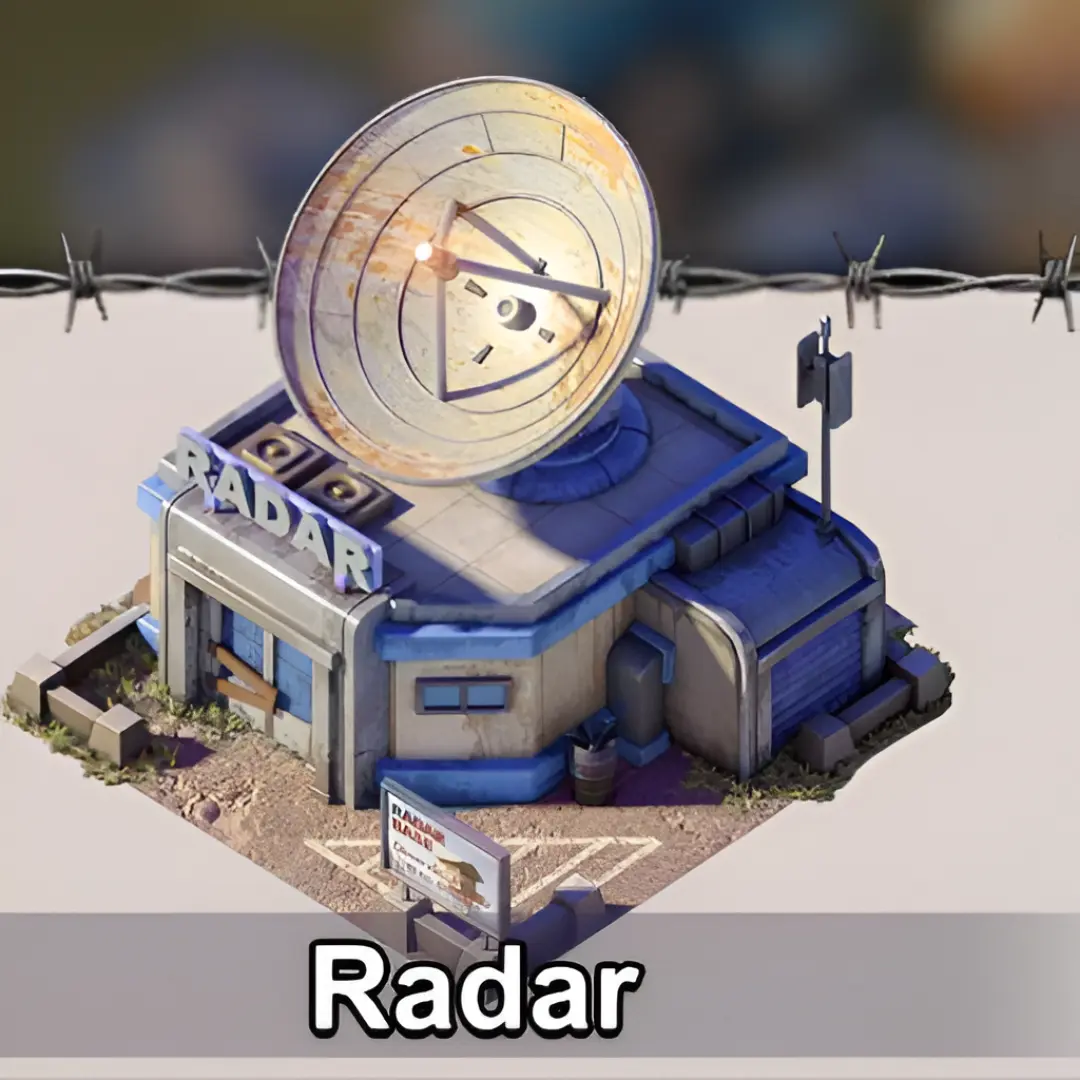
The Radar expands your vision range on the map and speeds up enemy reconnaissance. Useful for scouting rival bases and planning attacks — not urgent early on but becomes more important in war seasons.
The Radar increases reconnaissance speed and unlocks crucial information about your targets.
| Lvl. | 🪵🥫 Wood & Food | 💰 Z Coin | Reconn. Speed | Unlocked Effect |
|---|---|---|---|---|
| 1 | --- | --- | +1% | Total defense troop strength |
| 2 | 1.6k | --- | +2% | Lootable resource details |
| 3 | 2.5k | --- | +3% | --- |
| 4 | 3.8k | --- | +4% | --- |
| 5 | 7.6k | --- | +5% | --- |
| 6 | 22.8k | 9.1k | +6% | Defense troop hero info |
| 7 | 45.7k | 18.3k | +7% | --- |
| 8 | 73.1k | 29.3k | +8% | --- |
| 9 | 117k | 46.8k | +9% | Reinforcement troop hero info |
| 10 | 140.4k | 56.2k | +10% | --- |
| 11 | --- | --- | +11% | --- |
| 12 | --- | --- | +12% | --- |
| 13 | --- | --- | +13% | Defense troop strength detail |
| 14 | --- | --- | +14% | --- |
| 15 | --- | --- | +15% | --- |
| Lvl. | 🪵🥫 Wood & Food | 💰 Z Coin | Reconn. Speed | Unlocked Effect |
|---|---|---|---|---|
| 16 | --- | --- | +16% | --- |
| 17 | --- | --- | +17% | Reinforcement troop details |
| 18 | --- | --- | +18% | --- |
| 19 | --- | --- | +19% | --- |
| 20 | --- | --- | +20% | --- |
| 21 | --- | --- | +21% | --- |
| 22 | --- | --- | +22% | --- |
| 23 | --- | --- | +23% | --- |
| 24 | --- | --- | +24% | --- |
| 25 | --- | --- | +25% | --- |
| 26 | --- | --- | +26% | --- |
| 27 | --- | --- | +27% | --- |
| 28 | --- | --- | +28% | --- |
| 29 | --- | --- | +29% | --- |
| 30 | --- | --- | +30% | --- |
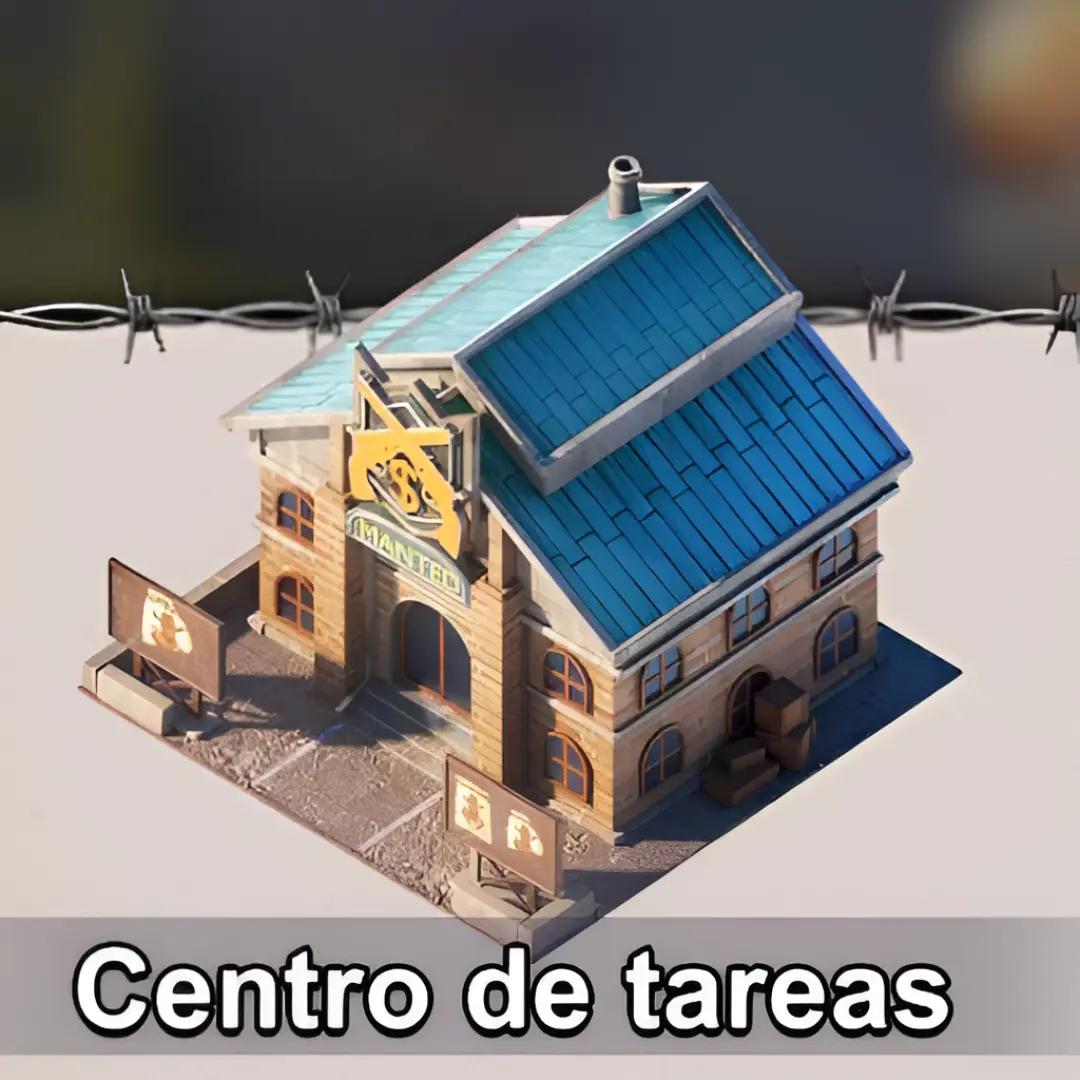
This building boosts your resource gathering efficiency across the board. Level it up to reduce the time and effort needed to collect materials from the map and keep your construction queues running.
"Upgrading this building helps your troops carry more load and collect more quickly"
| Level | Requirements | Collect. Speed | Load |
|---|---|---|---|
| 1 | Free | 40 troops | +1% |
| 2 | 600 wood, 400 gold | 60 troops | +2% |
| 3 | 900 wood, 600 gold | 80 troops | +3% |
| 4 | 1.2k wood, 800 gold | 100 troops | +4% |
| 5 | 1.5k wood, 1k gold | 120 troops | +5% |
| 6 | 1.8k wood, 1.2k gold | 140 troops | +6% |
| 7 | 2.1k wood, 1.4k gold | 160 troops | +7% |
| 8 | 2.4k wood, 1.6k gold | 180 troops | +8% |
| 9 | 2.7k wood, 1.8k gold | 200 troops | +9% |
| 10 | 3k wood, 2k gold | 240 troops | +10% |
| 11 | 3.3k wood, 2.2k gold | 280 troops | +11% |
| 12 | 3.6k wood, 2.4k gold | 320 troops | +12% |
| 13 | 3.9k wood, 2.6k gold | 360 troops | +13% |
| 14 | 4.2k wood, 2.8k gold | 400 troops | +14% |
| 15 | 4.5k wood, 3k gold | 440 troops | +15% |
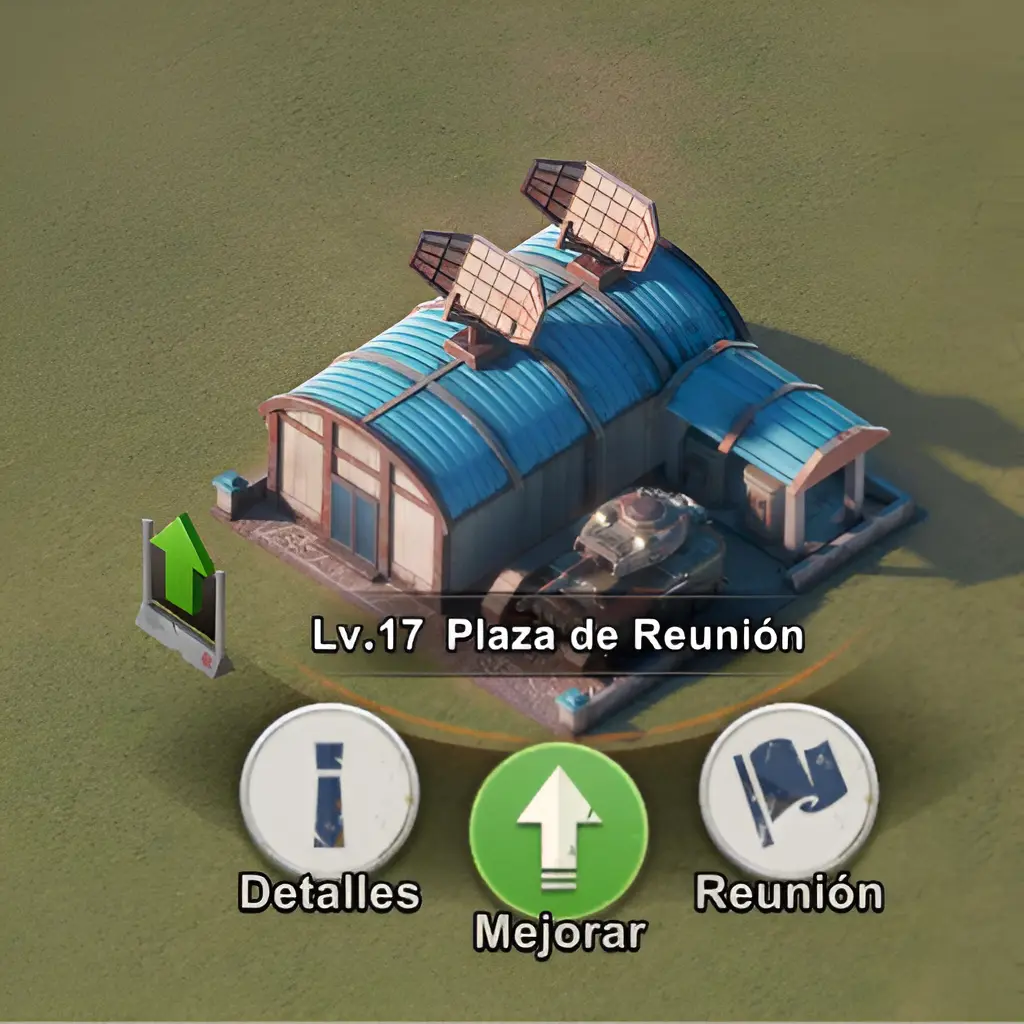
The Meeting Plaza is essential for joining Rally attacks with your alliance. Without this building you can't participate in rallies — and rallies are the most effective way to take down strong targets.
Se requiere construir este edificio para hacer las reuniones en la alianza.
| Lvl. | 🪵🥫 Wood & Food | 💰 Z Coin | Member Limit | Rally Damage |
|---|---|---|---|---|
| 1 | --- | --- | --- | --- |
| 2 | 3.3k | --- | --- | --- |
| 3 | 5k | --- | --- | --- |
| 4 | 7.6k | --- | --- | --- |
| 5 | 15.2k | --- | --- | --- |
| 6 | 45.7k | 9.1k | --- | --- |
| 7 | 91.4k | 18.3k | --- | --- |
| 8 | 146.2k | 29.3k | --- | --- |
| 9 | --- | --- | --- | --- |
| 10 | --- | --- | --- | --- |
| 11 | --- | --- | --- | --- |
| 12 | --- | --- | --- | --- |
| 13 | --- | --- | --- | --- |
| 14 | --- | --- | --- | --- |
| 15 | 2.57M | 515k | --- | --- |
| Lvl. | 🪵🥫 Wood & Food | 💰 Z Coin | Member Limit | Rally Damage |
|---|---|---|---|---|
| 16 | 4.58M | 916k | --- | --- |
| 17 | --- | --- | --- | --- |
| 18 | --- | --- | --- | --- |
| 19 | --- | --- | --- | --- |
| 20 | --- | --- | --- | --- |
| 21 | --- | --- | --- | --- |
| 22 | --- | --- | --- | --- |
| 23 | --- | --- | --- | --- |
| 24 | --- | --- | --- | --- |
| 25 | --- | --- | --- | --- |
| 26 | --- | --- | --- | --- |
| 27 | --- | --- | --- | --- |
| 28 | --- | --- | --- | --- |
| 29 | --- | --- | --- | --- |
| 30 | --- | --- | --- | --- |
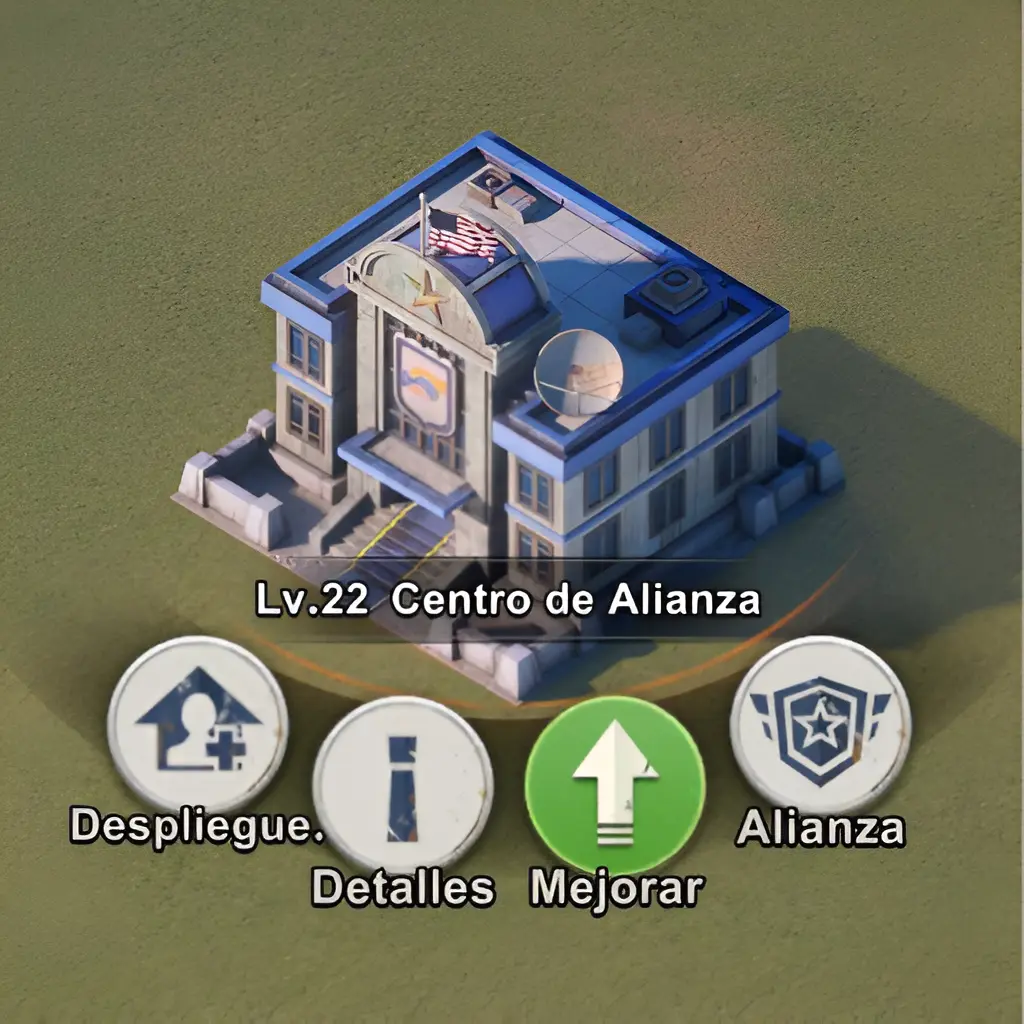
The Alliance Center lets you receive troop reinforcements from alliance members when your base is under attack. The higher its level, the more allied troops you can shelter — crucial in active servers.
Allows receiving reinforcements and help from allies. Upgrade to increase limits.
| Lvl. | 🪵🥫 Wood & Food | 💰 Z Coin | Help Limit | Reinforcement |
|---|---|---|---|---|
| 1 | --- | --- | --- | --- |
| 2 | 5.2k | --- | --- | --- |
| 3 | 7.8k | --- | --- | --- |
| 4 | 11.7k | --- | --- | --- |
| 5 | 23.4k | --- | --- | --- |
| 6 | 70.4k | 9.1k | --- | --- |
| 7 | 140.9k | 18.3k | --- | --- |
| 8 | --- | --- | --- | --- |
| 9 | --- | --- | --- | --- |
| 10 | --- | --- | --- | --- |
| 11 | 1.08M | 140k | --- | --- |
| 12 | --- | --- | --- | --- |
| 13 | --- | --- | --- | --- |
| 14 | --- | --- | --- | --- |
| 15 | --- | --- | --- | --- |
| Lvl. | 🪵🥫 Wood & Food | 💰 Z Coin | Help Limit | Reinforcement |
|---|---|---|---|---|
| 16 | --- | --- | --- | --- |
| 17 | --- | --- | --- | --- |
| 18 | 16.06M | 2.08M | --- | --- |
| 19 | 19.27M | 2.50M | --- | --- |
| 20 | 34.69M | 4.50M | --- | --- |
| 21 | --- | --- | --- | --- |
| 22 | --- | --- | --- | --- |
| 23 | --- | --- | --- | --- |
| 24 | --- | --- | --- | --- |
| 25 | --- | --- | --- | --- |
| 26 | --- | --- | --- | --- |
| 27 | --- | --- | --- | --- |
| 28 | --- | --- | --- | --- |
| 29 | --- | --- | --- | --- |
| 30 | --- | --- | --- | --- |
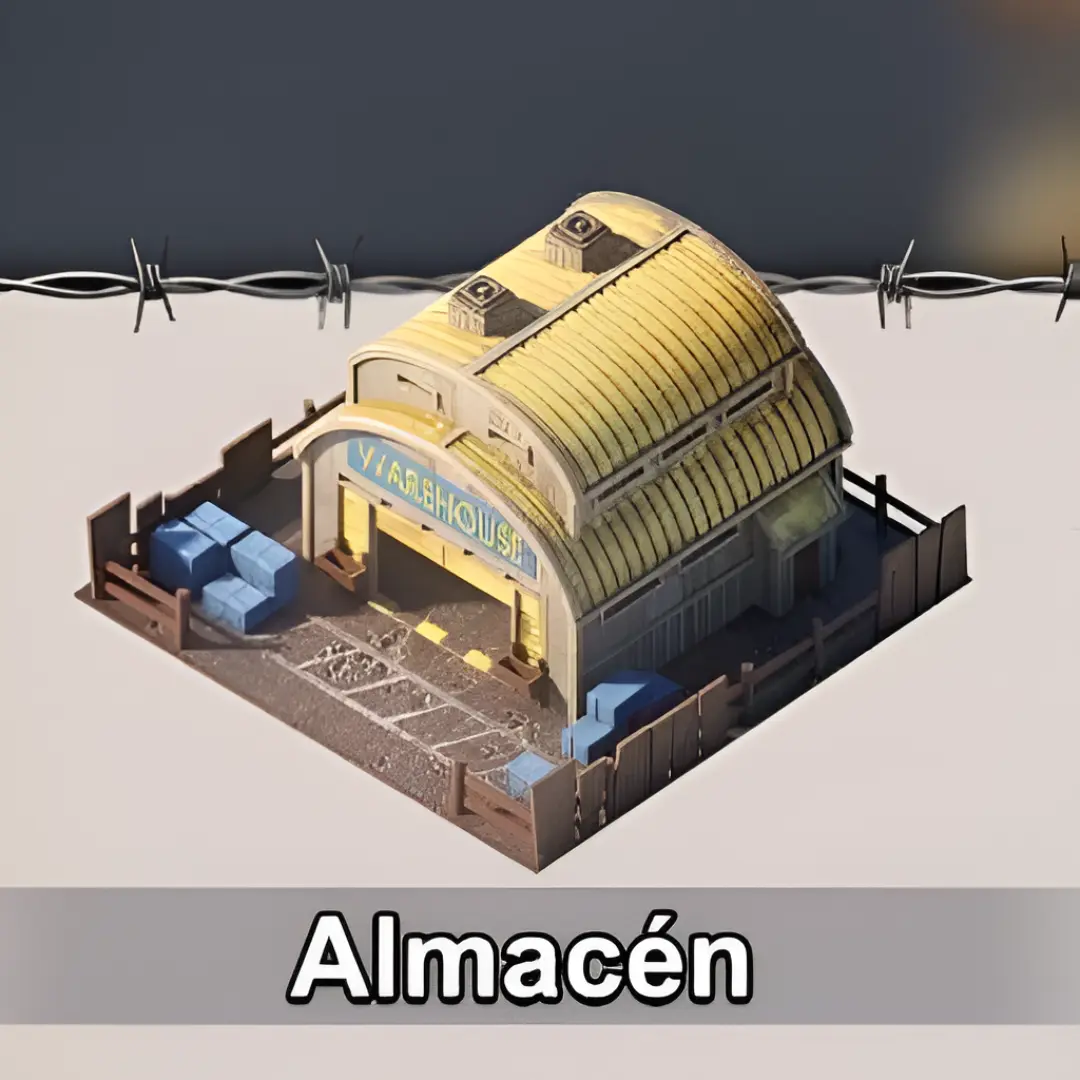
The Warehouse protects a portion of your resources when you're attacked. The higher its level, the more resources stay safe from looting. If you store a lot of resources without shields, this building can save your base.
Stores your resources. Upgrade to increase the amount protected from enemy raids.
| Lvl. | 🪵🥫 Wood & Food | 💰 Z Coin | Res. Protect. |
|---|---|---|---|
| 1 | --- | --- | --- |
| 2 | 3.8k | --- | --- |
| 3 | 5.8k | --- | --- |
| 4 | --- | --- | --- |
| 5 | --- | --- | --- |
| 6 | 52.3k | 10.3k | --- |
| 7 | --- | --- | --- |
| 8 | --- | --- | --- |
| 9 | 268.1k | 52.7k | --- |
| 10 | 321.7k | 63.2k | --- |
| 11 | 804.4k | 158k | --- |
| 12 | 1.36M | 269k | --- |
| 13 | 1.50M | 295k | --- |
| 14 | 2.10M | 414k | --- |
| 15 | 2.94M | 579k | --- |
| Lvl. | 🪵🥫 Wood & Food | 💰 Z Coin | Res. Protect. |
|---|---|---|---|
| 16 | --- | --- | --- |
| 17 | --- | --- | --- |
| 18 | --- | --- | --- |
| 19 | --- | --- | --- |
| 20 | --- | --- | --- |
| 21 | --- | --- | --- |
| 22 | --- | --- | --- |
| 23 | --- | --- | --- |
| 24 | --- | --- | --- |
| 25 | --- | --- | --- |
| 26 | --- | --- | --- |
| 27 | --- | --- | --- |
| 28 | --- | --- | --- |
| 29 | --- | --- | --- |
| 30 | --- | --- | --- |
The Villa expands both your population and total troop capacity. It directly complements the Residence — level them together so you never hit the soldier cap at the worst possible moment.
Aumenta la población de tu base, lo que incrementa tu capacidad máxima de tropas.
| Lvl. | 🪵🥫 Wood & Food | 💰 Z Coin | Free Build Time | Build Speed |
|---|---|---|---|---|
| 1 | --- | --- | --- | --- |
| 2 | --- | --- | --- | --- |
| 3 | --- | --- | --- | --- |
| 4 | --- | --- | --- | --- |
| 5 | --- | --- | --- | --- |
| 6 | --- | --- | --- | --- |
| 7 | --- | --- | --- | --- |
| 8 | 109.6k | 21.9k | --- | --- |
| 9 | --- | --- | --- | --- |
| 10 | 210.6k | 42.1k | --- | --- |
| 11 | 526.5k | 105k | --- | --- |
| 12 | --- | --- | --- | --- |
| 13 | 984.6k | 197k | --- | --- |
| 14 | --- | --- | --- | --- |
| 15 | --- | --- | --- | --- |
| Lvl. | 🪵🥫 Wood & Food | 💰 Z Coin | Free Build Time | Build Speed |
|---|---|---|---|---|
| 16 | --- | --- | --- | --- |
| 17 | --- | --- | --- | --- |
| 18 | --- | --- | --- | --- |
| 19 | --- | --- | --- | --- |
| 20 | 16.87M | 3.38M | --- | --- |
| 21 | --- | --- | --- | --- |
| 22 | --- | --- | --- | --- |
| 23 | --- | --- | --- | --- |
| 24 | --- | --- | --- | --- |
| 25 | --- | --- | --- | --- |
| 26 | --- | --- | --- | --- |
| 27 | --- | --- | --- | --- |
| 28 | --- | --- | --- | --- |
| 29 | --- | --- | --- | --- |
| 30 | --- | --- | --- | --- |
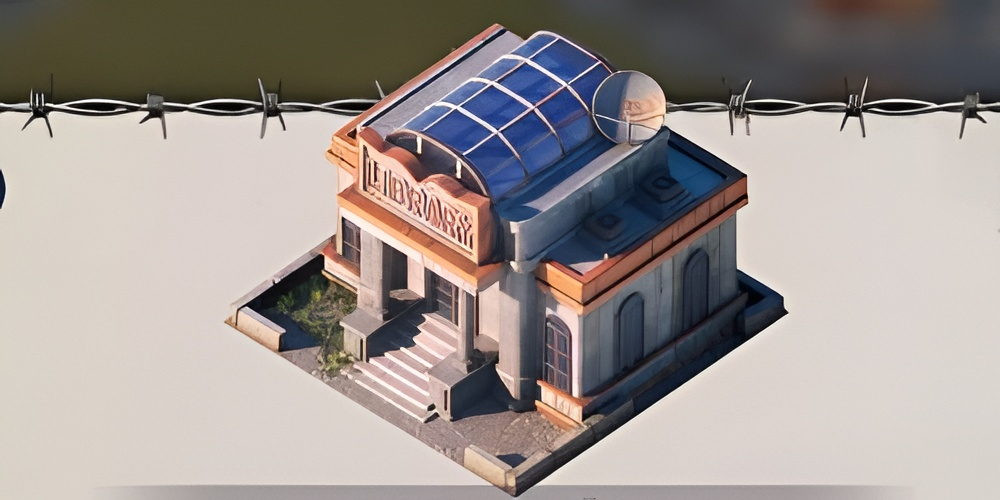
The Library unlocks and enhances your base's knowledge skills. These give passive bonuses to production, defense, and attack — over time they have a silent but very real impact on your total power.
Unlocks and improves knowledge skills that enhance various areas of your base.
| Lvl. | 🪵🥫 Wood & Food | 💰 Z Coin | Research Speed |
|---|---|---|---|
| 1 | --- | --- | --- |
| 2 | 1.2k | --- | --- |
| 3 | 1.9k | --- | --- |
| 4 | 2.8k | --- | --- |
| 5 | 5.7k | --- | --- |
| 6 | 17.1k | --- | --- |
| 7 | 34.2k | --- | --- |
| 8 | --- | --- | --- |
| 9 | --- | --- | --- |
| 10 | 105.3k | --- | --- |
| 11 | 263.2k | --- | --- |
| 12 | 447.5k | --- | --- |
| 13 | 492.3k | --- | --- |
| 14 | --- | --- | --- |
| 15 | --- | --- | --- |
| Lvl. | 🪵🥫 Wood & Food | 💰 Z Coin | Research Speed |
|---|---|---|---|
| 16 | --- | --- | --- |
| 17 | --- | --- | --- |
| 18 | --- | --- | --- |
| 19 | --- | --- | --- |
| 20 | --- | --- | --- |
| 21 | --- | --- | --- |
| 22 | --- | --- | --- |
| 23 | --- | --- | --- |
| 24 | --- | --- | --- |
| 25 | --- | --- | --- |
| 26 | --- | --- | --- |
| 27 | --- | --- | --- |
| 28 | --- | --- | --- |
| 29 | --- | --- | --- |
| 30 | --- | --- | --- |
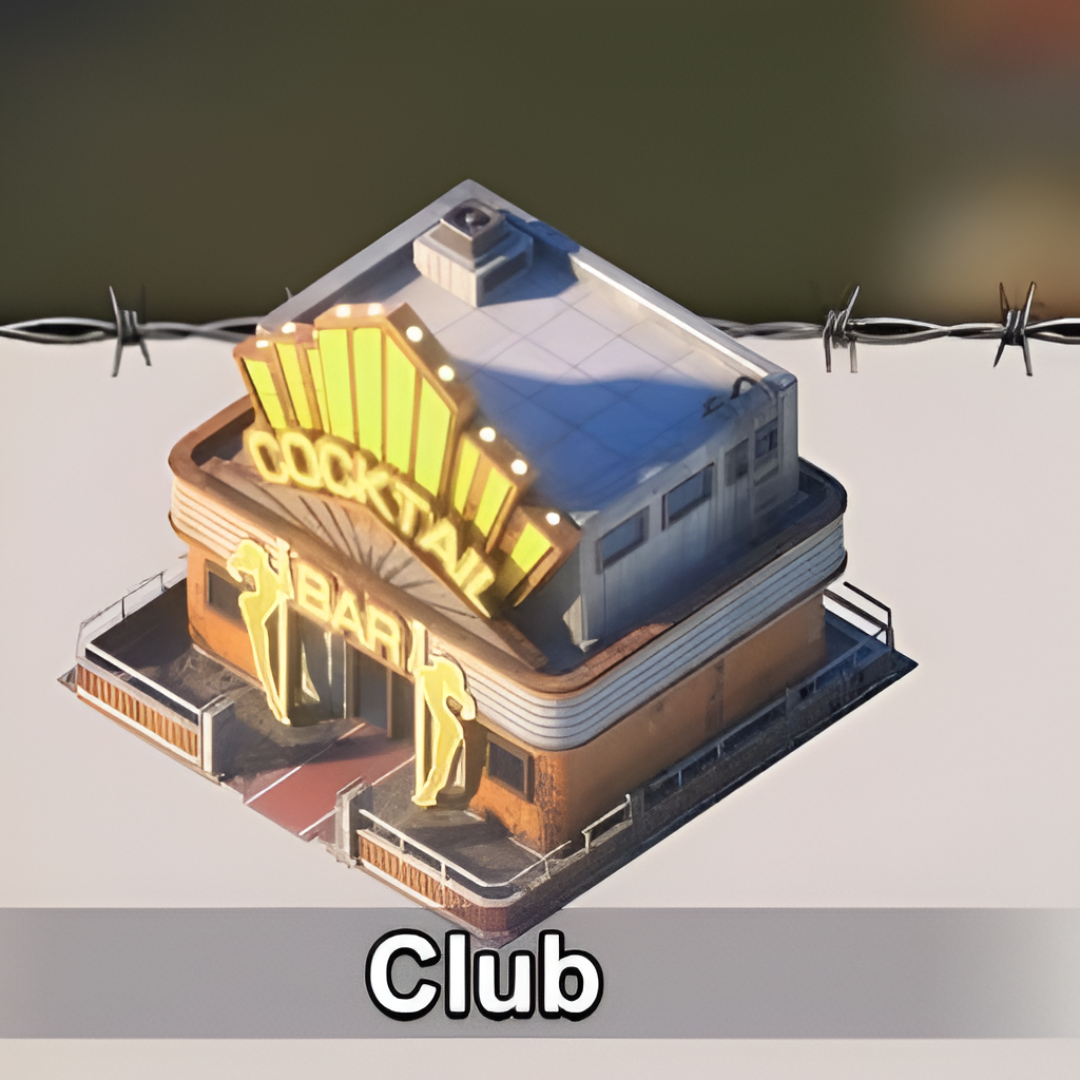
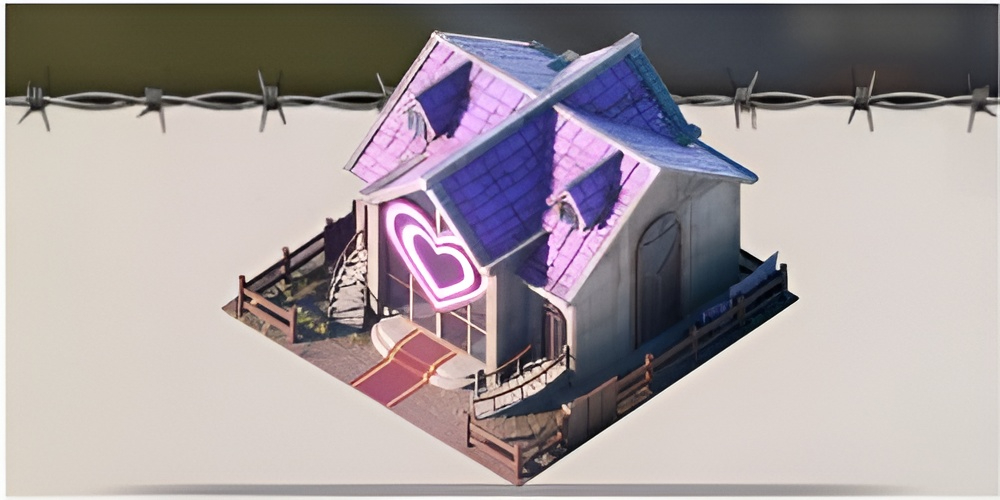
The Club is where you recruit elite heroes and refugees with unique abilities. Keep it leveled to unlock better heroes and expand your refugee roster — some of the most powerful units come from here.
The Club offers 2 types of recruitment: Elite heroes via Advanced Recruit Cards and Refugees using Coupons or Diamonds.
Summon elite heroes using Advanced Recruit Cards
⚠️ Important: Only Advanced Recruit Cards can be used. Diamonds cannot be used as an alternative. Cards are obtained through events, missions, or real money purchases.
Upon completing 90 summons
🏅 10 Rank S Hero Fragments
(Guaranteed)
💡 Tip: The guarantee counter accumulates permanently. Save your cards until you have enough for multiple x10 summons to maximize your chances.
Recruitment probabilities are for a single recruitment, excluding the guaranteed one.
| Rarity | Type | Probability |
|---|---|---|
| S | Orange Heroes | 3% |
| A | Purple Combined Hero | 13.5% |
| B | Blue Heroes | 27% |
| Objeto | General Items | 56.5% |
Recruit refugees with special skills using coupons or diamonds
3 random rank refugees appear and stay for 12 hours. You can recruit up to 3 refugees per cycle.
⏰ Stay time: Refugees change every 12 hours
| Recruitment | Refugee Coupons | Diamonds (alternative) |
|---|---|---|
| 1st Refugee | 🎫 500 | 💎 500 |
| 2nd Refugee | 🎫 2,000 | 💎 2,000 |
| 3rd Refugee | 🎫 5,000 | 💎 5,000 |
💡 If you don't have enough coupons, you can use diamonds at the same value (1 coupon = 1 diamond).
Green
Common
Blue
Rare
Purple
Epic
Orange
Legendary
Each recruitment lets you perform one free refresh of the 3 available refugees.
✨ Use this function to "reroll" without spending additional resources
Every 10 recruitments
🟠 1 Orange Quality Refugee
(Guaranteed)
💰 Ahorro Máximo: Esta estrategia te permite "rerollear" múltiples veces usando solo 500 cupones/diamantes por ciclo, maximizando tus oportunidades de conseguir refugiados de alta calidad sin gastar todos tus recursos.
Activa esta opción para acelerar el proceso de reclutamiento y ahorrar tiempo durante múltiples invocaciones.
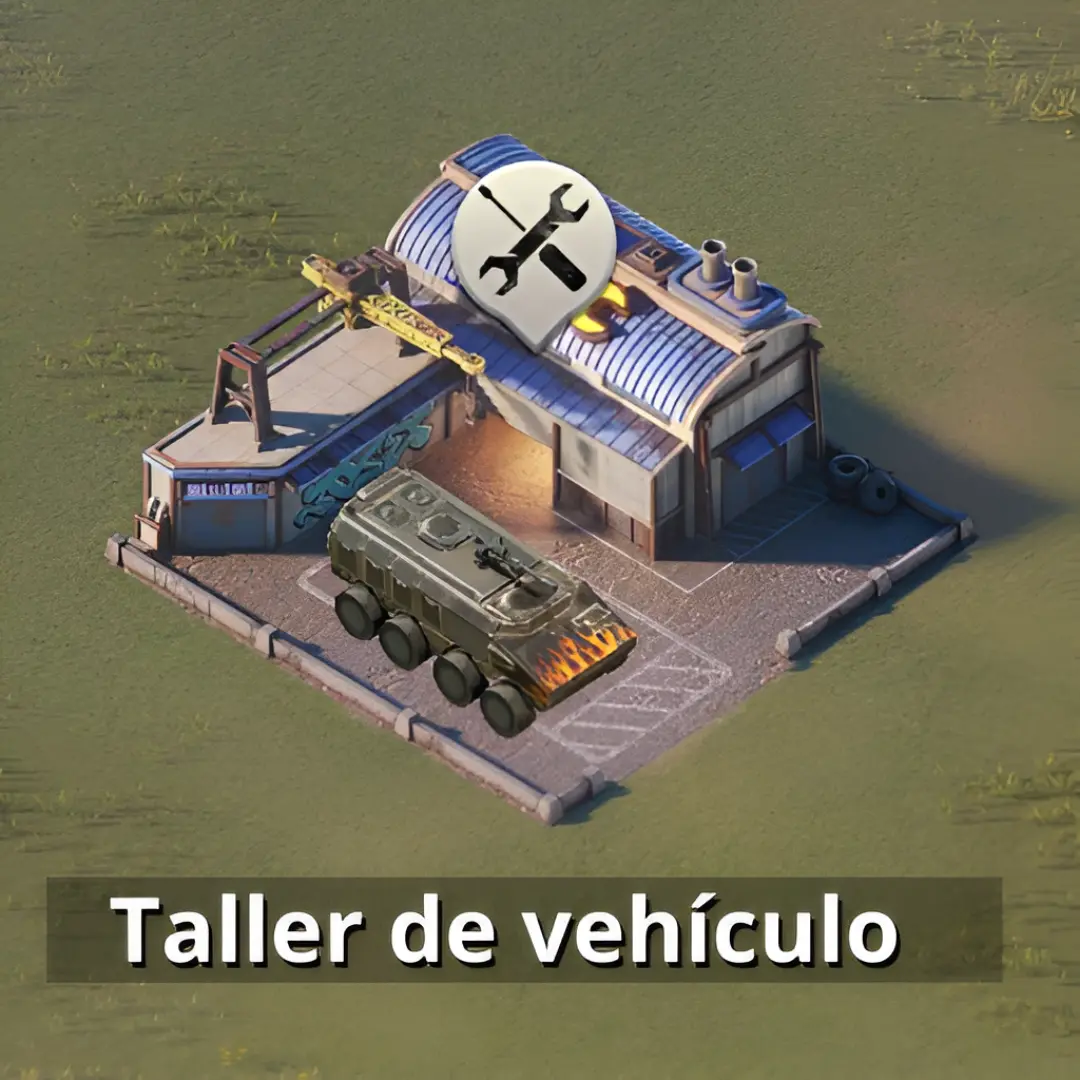
The Workshop lets you upgrade and modify vehicles to boost their combat power. As you progress into higher seasons, a well-upgraded vehicle can significantly increase your attack power in battle.
El Taller es el centro de mejora y personalización de vehículos. Aquí puedes mejorar tus vehículos, obtener clasificaciones que reducen costos, equipar módulos y añadir plugins tácticos para maximizar el poder de tus formaciones.
Mejora tus vehículos usando planos y llaves inglesas para aumentar su poder de combate
Cada vehículo puede ser mejorado para aumentar sus atributos base. Las mejoras requieren:
Mayor daño en combate
Mejor resistencia al daño
Mayor supervivencia
Incremento general de poder
Al mejorar vehículos, ganas experiencia que te permite subir de clasificación. Cada clasificación otorga beneficios permanentes que reducen costos y aumentan eficiencia.
Estado inicial. Sin bonificaciones.
Beneficio: None
💰 Coste de mejora reducido en un 10%
📈 Upgrade Experience +20%
🎁 Immediately get 10 free upgrade opportunities
📈 Upgrade Experience +50%
🎁 Immediately get 12,000 blueprints + 30 wrenches
💰 15% reduction in upgrade and modification costs
⚡ Super Upgrade: For 30 minutes, the next 100 upgrades grant double EXP
📈 Upgrade Experience +100%
💰 25% reduction in upgrade and modification costs
💰 Reduces modification cost by 20%
🎁 Immediately get 50,000 blueprints + 100 wrenches
Armament modification system using golden keys to level up and unlock special vehicles
To modify and upgrade your armament, you need golden keys. Each level requires a specific number of keys divided into sub-levels.
Upon reaching certain levels, you'll unlock special vehicles such as the Cheetah, Hercules, Double Cannons, Snowplow, and Destroyer.
Level 20
30 total keys
Level 70
360 total keys
Level 105
2,320 total keys
Level 130
6,300 total keys
Level 145
10,270 total keys
Check how many golden keys you need for each level and sub-level
| Level | Keys/Sub-level | Sub-levels | Total Keys | Accumulated | Armament |
|---|---|---|---|---|---|
| 1 | 1 | 5 | 5 | 5 | — |
| 5 | 1 | 5 | 5 | 10 | — |
| 10 | 1 | 5 | 5 | 15 | — |
| 15 | 1 | 5 | 5 | 20 | — |
| 20 | 2 | 5 | 10 | 30 | 🐆 Cheetah |
| 25 | 2 | 5 | 10 | 40 | — |
| 30 | 4 | 5 | 20 | 60 | — |
| 35 | 4 | 5 | 20 | 80 | — |
| 40 | 6 | 5 | 30 | 110 | — |
| 45 | 8 | 5 | 40 | 150 | — |
| 50 | 8 | 5 | 40 | 190 | — |
| 55 | 12 | 5 | 60 | 60 | — |
| 60 | 18 | 5 | 90 | 150 | — |
| 65 | 18 | 5 | 90 | 240 | — |
| 70 | 24 | 5 | 120 | 360 | 💪 Hercules |
| 75 | 20 | 8 | 160 | 520 | — |
| 80 | 25 | 8 | 200 | 720 | — |
| 85 | 30 | 8 | 240 | 960 | — |
| 90 | 35 | 8 | 280 | 1,240 | — |
| 95 | 40 | 8 | 320 | 1,560 | — |
| 100 | 45 | 8 | 360 | 1,920 | — |
| 105 | 50 | 8 | 400 | 2,320 | 🔫 Double Cannons |
| 110 | 50 | 10 | 500 | 2,820 | — |
| 115 | 74 | 10 | 740 | 3,560 | — |
| 120 | 74 | 10 | 740 | 4,300 | — |
| 125 | 100 | 10 | 1,000 | 5,300 | — |
| 130 | 100 | 10 | 1,000 | 6,300 | 🚜 Snowplow |
| 135 | 124 | 10 | 1,240 | 7,540 | — |
| 140 | 124 | 10 | 1,240 | 8,780 | — |
| 145 | 149 | 10 | 1,490 | 10,270 | 💥 Destructor |
Each level is divided into sub-levels (usually 5, 8, or 10 depending on the level). You must complete all sub-levels to advance to the next level.
Each sub-level requires a certain amount of golden keys. For example, at level 20 you need 2 keys for each of the 5 sub-levels = 10 total keys.
The "Accumulated" column shows the total keys you will have used from the start up to that level. For example, to reach level 145 you need 10,270 keys in total.
El sistema de Módulo Exterior se desbloqueará en temporadas avanzadas (S3+).
Esta función permite equipar módulos especializados que otorgan bonificaciones adicionales a los vehículos.
Equipa y mejora módulos para potenciar los atributos de tus vehículos
Cada vehículo puede equipar hasta 6 módulos diferentes que otorgan bonificaciones a diversos atributos:
DEF de Tropa en Asedio +15%
DEF de Tropa +15%
Diversos atributos según el tipo
Los módulos tienen diferentes raridades que determinan su poder base:
| Level | Rarity | Color |
|---|---|---|
| Lv.1 - Lv.3 | 🔘 Común | Gris |
| Lv.4 - Lv.6 | 🟢 No común | Verde |
| Lv.7 - Lv.9 | 🔵 Raro | Azul |
| Lv.10 - Lv.12 | 🟣 Épico | Morado |
| Lv.13+ | 🟠 Legendario | Naranja |
| Lv.15+ | 🔴 Mítico | Rojo |
Combine 2 modules of the same level to create one of a higher level:
Se requieren 2 módulos del mismo nivel (pueden ser del mismo tipo o diferentes)
Los high-level modules otorgan múltiples bonificaciones:
Equipa plugins tácticos en formaciones para obtener bonificaciones únicas por facción
Los Plugins Tácticos son equipamientos especiales que se instalan en los vehículos de cada formación. Cada formación tiene 4 espacios para plugins y puede alcanzar diferentes niveles (I, II, III, IV).
Abre el Cofre de Plugins Tácticos para obtener aleatoriamente plugins o materiales de fabricación. Los materiales se pueden usar en la función "Fabricación de Plugins Tácticos" para sintetizar los deseados.
Al instalar un Plugin Táctico en el vehículo modificado de la formación correspondiente, puede proporcionar bonificaciones de atributos y habilidades exclusivas a la formación, ayudando a aumentar el poder.
Cuanto mayor sea la calidad del Plugin Táctico, más potentes serán las bonificaciones y los efectos de habilidad. Los Plugins Tácticos Naranjas de alta calidad también pueden activar el "Atributo de Resonancia".
Hay 4 tipos de plugins que se pueden equipar en cada formación:
Plugin de Apertura
Plugin de Ataque
Plugin de Detección
Plugin de Defensa
Los plugins están vinculados a 3 facciones diferentes, cada una con sus propios atributos:
Ejemplo: Escudo EM III
💪 Poder: 106,200
⚔️ ATQ de héroes de Rosa de Sangre en formación: +854
🎯 Habilidad: El daño de ataque normal y de contraataque recibido por la tropa se reduce en un 1.4%
Ejemplo: Arma (Plugin de Ataque)
💪 Poder: 230,000
⚔️ ATQ de héroes de Alas del Alba en formación: +686
⚔️ Troop ATK: +6%
🎯 Habilidad: El daño de ataque normal y de contraataque infligido por la tropa aumenta en un 6%. Tras usar una habilidad del vehículo modificado, hay una probabilidad...
Ejemplo: Escudo EM III
💪 Poder: 66,000
⚔️ ATQ de héroes de Guardia del Orden en formación: +220
🎯 Habilidad: El daño de ataque normal y de contraataque recibido por la tropa se reduce en un 1%
| Rarity | Color | Poder Base |
|---|---|---|
| 🟣 Morado | Épico | ~66,000 - 106,000 |
| 🟠 Naranja | Legendario | ~230,000+ |
⚠️ Nota: Los Plugins Tácticos Naranjas NO se pueden usar como material de subida de estrellas.
Los plugins pueden ser mejorados usando otros plugins como material, incrementando sus atributos:
Se requieren 8 mejoras para subir 1 estrella
Cada mejora requiere materiales (otros plugins o fragmentos)
Puedes usar plugins del mismo tipo o diferentes
Los plugins morados pueden ser usados como material
Los plugins naranjas NO pueden ser material
Los atributos aumentan con cada estrella
Ejemplo: ATQ +686 → +652 por mejora
ATQ de Tropa +6% → +6.5%
El costo en poder varía según el plugin:
⚡ Requisito: Equipar Plugins Tácticos Naranjas activa la Resonancia de Plugins. Raising the stars of Orange Tactical Plugins can increase the Resonance star level.
💡 Se desbloquea cuando TODOS los Plugins Tácticos son de calidad Naranja.
| Estrellas | ATQ de todos los héroes | DEF de todos los héroes |
|---|---|---|
| ⭐ 0 | +20 | +20 |
| ⭐ 1 | +40 | +40 |
| ⭐ 2 | +60 | +60 |
| ⭐ 3 | +80 | +80 |
| ⭐ 4 | +100 | +100 |
| ⭐ 5 | +150 | +150 |
| ⭐ 6 | +200 | +200 |
| ⭐ 7 | +250 | +250 |
| ⭐ 8 | +300 | +300 |
| ⭐ 9 | +350 | +350 |
| ⭐ 10 | +400 | +400 |
Puedes fabricar plugins específicos usando materiales obtenidos del Cofre de Plugins:
Tubos/cilindros morados o naranjas
Se obtienen del Cofre de Plugins Tácticos
Selecciona la facción deseada
Elige el tipo de plugin
Fabrica usando los materiales
Ejemplo: 273/100 o 38/100
Al completar, recibes el plugin

Produces Lotus Flowers used to upgrade season-exclusive buildings. Essential during Season 3 — keep it leveled to unlock more powerful seasonal upgrades.
🌸 Recurso Principal: Flores de Loto
⚡ Function: Continuous production of Lotus Flowers needed to upgrade the Biological Lab and other seasonal buildings.
PRIORITY #2
Si tienes Núcleos de Hielo suficientes, mejóralo para aumentar la producción de lotos y acelerar tu progreso en la temporada.
Produce: Flores de Loto (🌸)
Requiere: Núcleos de Hielo (❄️) para mejorar
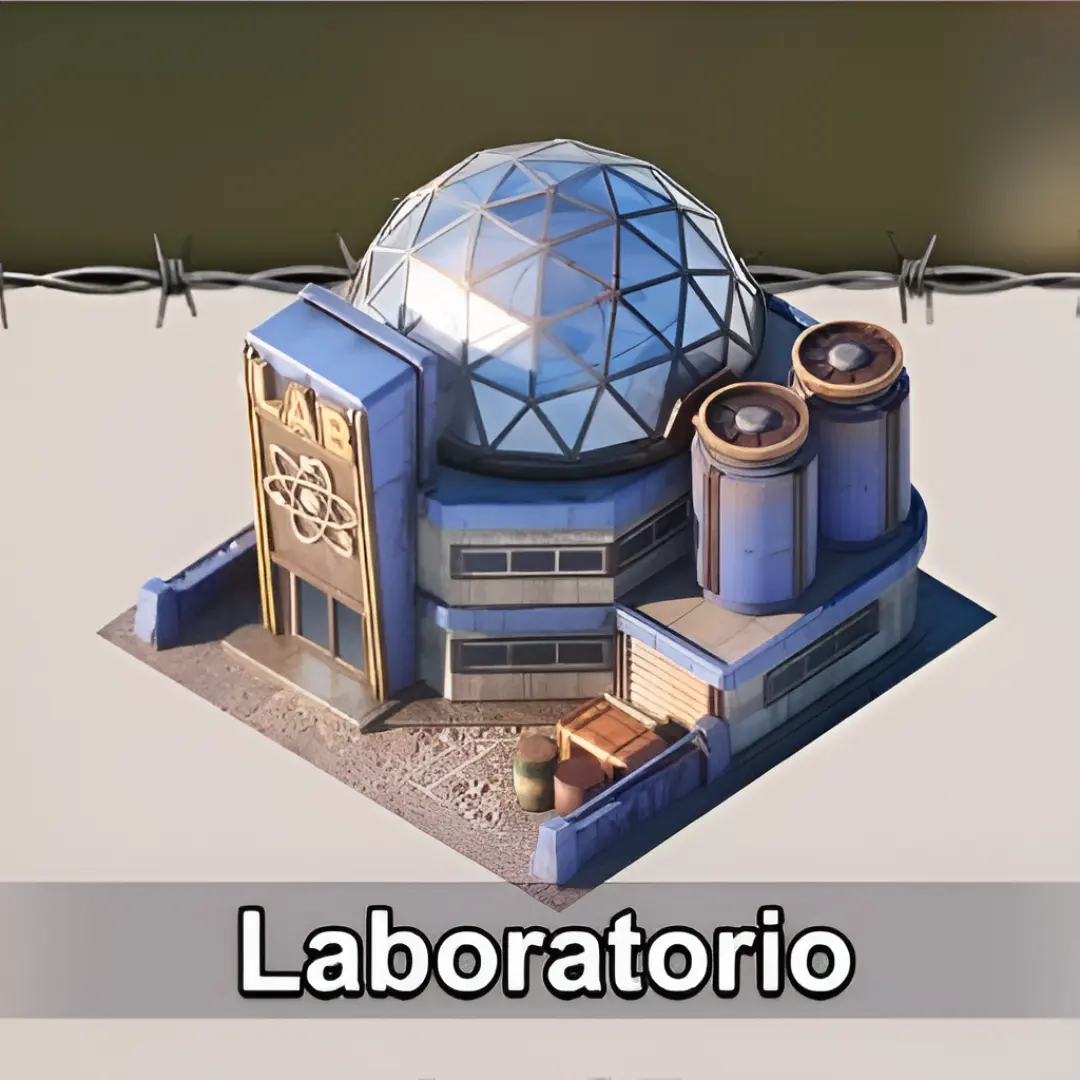
The Laboratory is one of the most important buildings in your entire base — and probably the one you'll need to level up the most. Every time you want to upgrade your HQ, you'll need a specific Laboratory level, so you have no choice but to keep it current. The research you unlock here is essential for everything: attack power, resource production, Alliance VS bonuses and much more. If you neglect the Laboratory, everything else stalls.
Research improvements for troops, defense and economy. Contains 9 categories with over 160 researches available.
| Lv. | 🪵🥫 Wood & Food | 💰 Z Coins |
|---|---|---|
| 1 | --- | --- |
| 2 | --- | --- |
| 3 | --- | --- |
| 4 | --- | --- |
| 5 | --- | --- |
| 6 | 122.8k | 24.6k |
| 7 | --- | --- |
| 8 | --- | --- |
| 9 | 628.9k | 126k |
| 10 | --- | --- |
| 11 | --- | --- |
| 12 | 3.20M | 641k |
| 13 | --- | --- |
| 14 | --- | --- |
| 15 | --- | --- |
| Lv. | 🪵🥫 Wood & Food | 💰 Z Coins |
|---|---|---|
| 16 | --- | --- |
| 17 | --- | --- |
| 18 | --- | --- |
| 19 | 33.60M | 6.72M |
| 20 | --- | --- |
| 21 | --- | --- |
| 22 | 110.08M | 22M |
| 23 | --- | --- |
| 24 | --- | --- |
| 25 | --- | --- |
| 26 | --- | --- |
| 27 | --- | --- |
| 28 | --- | --- |
| 29 | --- | --- |
| 30 | 1.387G | 277.40M |
--- Data pending confirmation · If you have it, share it in Community
Increases virus resistance and allows you to attack higher-tier Boomers that drop Ice Cores. A Season 3 priority — without this building you can't access the best resources of the season.
🧬 Función Principal: Aumenta resistencia a virus
❄️ Critical Reward: Allows attacking higher-level Boomers that grant Ice Cores
ABSOLUTE PRIORITY #1
Ice Cores are needed to upgrade ALL seasonal buildings. Without upgrading this building, you won't be able to progress in the season.
Lab Level → Boomer Level you can attack → Ice Cores obtained
The higher the Boomer level, the more Ice Cores you'll get per elimination.
Requiere para mejorar: Flores de Loto + Núcleos de Hielo
Produce indirectamente: Acceso a más Núcleos de Hielo (mediante Boomers)
Increases your troops' ATTACK during the season.
⚔️ Main Bonus: Increases troop ATTACK
🎯 Tipo: Edificio de Combate
Prioridad Media-Alta
Upgrade after having the Biological Lab and Temperature Control Center at a good level.
Increases: Attack damage of all your troops
Duration: Only during Season 3
Synergy: Combine with Military Command for maximum offensive damage
Requires: Lotus Flowers + Ice Cores
Increases your troops' DEFENSE during the season.
🛡️ Main Bonus: Increases troop DEFENSE
🏰 Type: Defensive Combat Building
Medium Priority
Upgrade alongside the Glacial Military Depot to balance your combat capacity.
Increases: Defensive resistance of all your troops
Duration: Only during Season 3
Synergy: Better protects your troops in combat
If you're more offensive, prioritize Military Depot. If you defend often, prioritize Fortress. Ideally, upgrade both in a balanced way.
Requires: Lotus Flowers + Ice Cores
Increases your troops' DAMAGE during the season.
💥 Main Bonus: Increases troop DAMAGE
⚡ Type: Offensive Power Building
High Priority for PvP players
Focused on players looking to maximize their damage in combat.
Increases: Total damage dealt by your troops
Duration: Only during Season 3
Diferencia vs Depósito: Depósito aumenta ATK (precisión), Comando aumenta DAÑO (output final)
Military Depot: +ATK (hit probability)
Military Command: +DAMAGE (damage amount per hit)
Recommendation: Upgrade both for maximum offensive power
If you actively participate in alliance wars, this building is critical. Combine it with offensive heroes and attack formations to dominate the battlefield.
Requires: Lotus Flowers + Ice Cores